Want to know the best way to update your kitchen cabinets without having to replace them? Paint them! How much does it cost to get your kitchen cabinets painted white like we did? If you hired someone it would be about $2,000. But the cost to paint kitchen cabinets goes way down when you do it yourself.
My wonderful husband is painting mine now, and it looks fabulous! This is something he had never done before, so do not be afraid to take on this DIY paint project if you have always dreamed of having painted cabinets.
I am going to give you easy to follow step by step instructions as well as things to remember and things to avoid. We did all the research and trial and error for you, so you don’t have to.
Painting cabinets looks so easy in magazines and on Pinterest, but if you decide to take on this project be prepared to spend four to seven days on it – or a few weeks if you are only working on it nights and weekends like my husband. This is not a mere weekend project. Remember it will take several days to complete this paint project, so be ready to have your kitchen turned upside down for a while.
But no worries. If you follow my advice you will end up with the updated kitchen you’ve always wanted. You will enjoy a major sense of accomplishment and the many compliments you will receive for all of your efforts. You might even get motivated to try out one of my recipes!
This post may contain affiliate links, and I may earn commission when you click on the links at no additional cost to you.
First, make sure you choose the right paint for your type of cabinets.
Are your cabinets solid wood, laminate, or metal? It is important to buy the right kind of supplies for your kitchen cabinet project. Make sure you are following the specific instructions on your paint can label.
Wood cabinets like ours are ideal for painting, but really any surface that you can scuff up some with sandpaper can be painted. If your cabinets are laminate, you will need a special bonding primer. Also, it will not work well unless the laminate is in pretty good condition. I used chalk paint to paint an old piano that had a laminate surface, and it looks good.
The main thing to remember about choosing paint is to make sure you pick a high-quality paint. Go ahead and spend the money on good quality paint. It does not have to be a specialized cabinet paint, but it does need to be high quality.
You will want acrylic latex-based paint, because this kind is durable and easy to clean up. Make sure it is acrylic, not vinyl. With latex paints it is important to follow the manufacturer’s instructions regarding the cure time also.
We are using paint with a semi-gloss finish. A glossy finish looks shiny, but it will show every little ding and mistake. Semi-gloss and satin finishes are chosen most often for kitchens. Additionally, flat finish paints can be difficult to clean.
Prep the Kitchen Cabinets for Painting
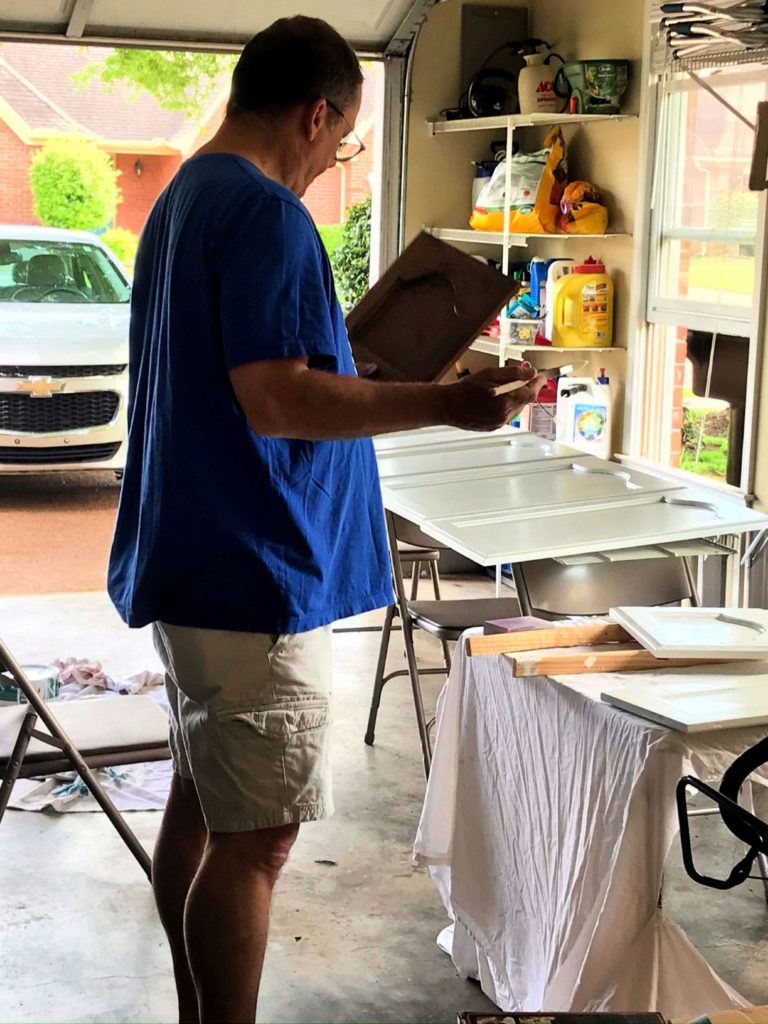
Make sure you have some ventilation for the paint fumes, and have a drop cloth or papers handy to keep paint from getting everywhere. Richard removed the doors and drawers and worked on them in the garage with the windows open. This seems to work best.
Prep Step 1
First, examine your cabinets. What condition are they in? If the surfaces are already painted, you can paint over the old paint. The only time old paint needs to be removed is when it is in such bad condition that it can’t be covered. In that case you will need to purchase one of many stripping products on the market. Make sure to follow the manufacturer’s instructions.
If your house was built before 1978 the old paint may be lead-based and will need to be removed. You can use a testing kit yourself or have it tested to check for lead.
Prep Step 2
Empty the cabinets and set everything out of the way of the dust and paint. My kitchen table was covered with dishes during this project, and we had to eat on TV trays, but it was worth it.
Next, remove all the doors, drawers and hardware. Some people try to save time by painting everything at once – hinges and all. But over time your cabinets and hardware will start to show chips and other wear and tear. When the paint on the hardware starts to crack you will have a hard time getting it off. It’s just not worth it.
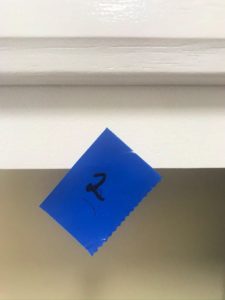
One big mistake people often make is not labeling where your doors, drawers and hardware go. All of this needs to go back in the same place, so label them with numbers or descriptions on painter’s tape. That way you can reinstall them in the rights spots. Put all the screws and hinges in a jar, plastic bag or cup for safekeeping and label where it goes. Don’t leave it all up to guesswork.
Prep Step 3
Even if you normally keep your kitchen clean it is extremely important to wipe down all surfaces with a grease remover such as TSP cleaner to remove any grease and dirt. We made our own concoction with vinegar, warm water, and dish soap.
Next, repair any damaged areas. Use wood filler to fill in any dents or holes then smooth it out with a putty knife. Then you will need to let it dry according to the directions. If you’re planning to use the same hardware you can leave the hardware holes.
Cover the areas you want to protect and put painter’s tape on the wall along the cabinet edges.
Prep Step 4
Now sand everything with a medium grit (150 or 200) sandpaper to help the paint stick to the surface. Fold the sandpaper to get into the detailed areas on doors and drawers, and in the corners on the frames. You just want a quick buffing to take the gloss down to matte. You don’t want to get down to the bare wood.
Richard borrowed my dad’s Dewalt Random Orbit Sander, and this saved him hours of time and muscle sanding. This is well worth purchasing, and the one in the link above is the one we used.
Prep Step 5
All of this sanding creates dust that stays on the surface of the wood. Vacuum up this dust and use a tack cloth to wipe the surfaces before painting anything. If even just a little dust is painted over it can ruin the look of the surface and make it look gritty. Everything should be dust free before you paint.
Prime the Kitchen Cabinets
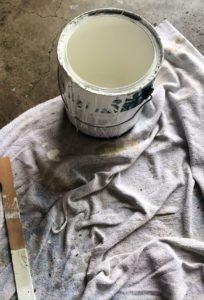
We used water based semi-gloss paint and primer combined, so we got to skip this step. But for other kinds of paint applying primer is a very important step in the painting process. Primer prepares the surface so that the paint sticks to it properly, and it also covers imperfections.
As tempting as it is, don’t skip this step. If you do you might notice the wood starting to bleed through your paint in a few months. You don’t want any surprise blotches that you could have avoided.
Primer Step 1
On the cabinet frames, work from the inside out. If you’re painting the inside of the cabinets, start at the back and work your way toward the front. you will need a brush to get into corners and detailed areas. Make sure to use even strokes.
Primer Step 2
You can use a mini roller on large, flat areas. The primer doesn’t have to look perfect, because you will be painting over it. Its purpose is to cover the surface and provide a good base for the finish paint. Work on one area at a time.
Primer Step 3
Once you’ve covered the surface, take your dry roller or brush (don’t reload it) and lightly go over the surface once again to remove any buildup. This is called “laying off” and helps create a smoother surface.
Primer Step 4
Next you will want to paint the doors and drawers. Take off the tape labels but keep them nearby. It is best to start with the backside of each door and apply a smooth even coat. When its dry, flip the door over and paint the front.
Use a brush for the detailed areas, and make sure that the primer doesn’t build up in the corners. Then you can use a foam roller for the larger flat surfaces. You only need to paint the front part of the drawers. If you paint the rest of it the paint might make it stick in the drawer frame.
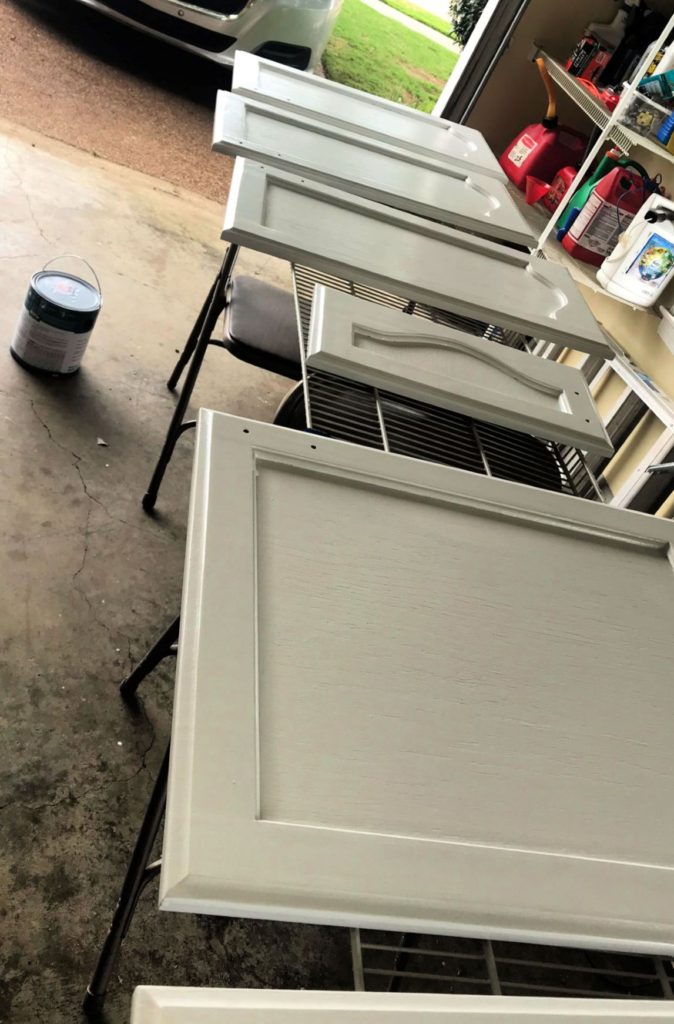
Since the paint we used already had primer in it, we used three coats of the paint instead of one coat of primer and two coats of paint. When painting, my husband took a long shelf and propped it up on chairs in the garage. This gave him a long work area to use when he painted the doors.
He propped each door up on nails in order to have as few touch points as possible – sort of DIY painter’s pyramid. That way he was also able to paint the sides more easily. Make sure you let the primer dry completely (several hours).
Paint the Kitchen Cabinets
Painting Step 1
Just like with the primer you will want to use a high quality brush for smaller areas and a foam roller for the larger surfaces. Start with the cabinet frames, and use long even strokes with the brush. Feather out the edges. Once the surface has been painted resist the urge to keep going over it. Just let it dry.

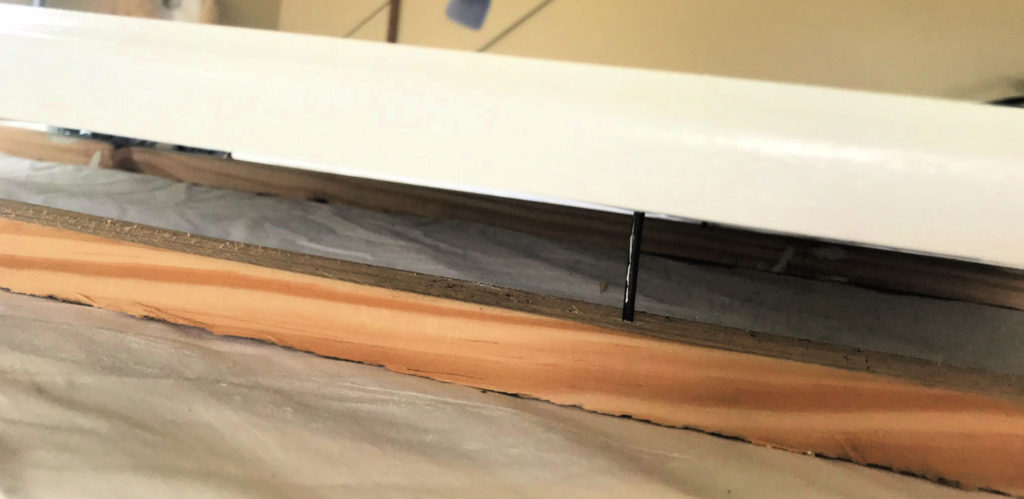
Also, make sure you pick out the best color for your kitchen. We have white crown molding, floor boards, and doors, so we wanted our cabinets the same color. My husband removed a piece of the wood flooring from his closet and took it with him to the paint store so that they could match the color when they mixed the paint.
If you are not sure what color to choose, try painting a large poster board with the color. Then hang the poster board up next to your backsplash and appliances and see how you like it. You don’t want to have to redo such a large project!
Painting Step 2
Next, paint the backs of the cabinet doors and drawers, After they have fully dried paint the fronts. Follow the directions on the paint can lable for the correct amount of time to let it dry. You do not want to rush this step or the paint won’t cure correctly.

Painting Step 3
Once the paint is dry apply a second coat of paint (or a third if you used paint/primer combined for the first coat). This should be your finishing coat of paint. Allow the paint to completely dry before trying to put anything back together. The long dry time is one of the reasons this project takes several days.
If you try to move any parts before the paint has cured and you accidentally smudge the paint, you will have to start all over by sanding the door and repainting it.
Refinish Cabinet Hardware
Clean your old hardware to spruce it up or replace it with something different for a new look. You can work on cleaning the hardware in between coats of paint while you are waiting for the paint to dry.
Scrub the hardware in warm water with dish saop and pat it dry. If you are going to paint the hardware lightly scuff it first with thin steel wool. Then attach them to a piece of cardboard and lightly spray them with primer then paint. Not too much!
Reassemble the Kitchen Cabinets
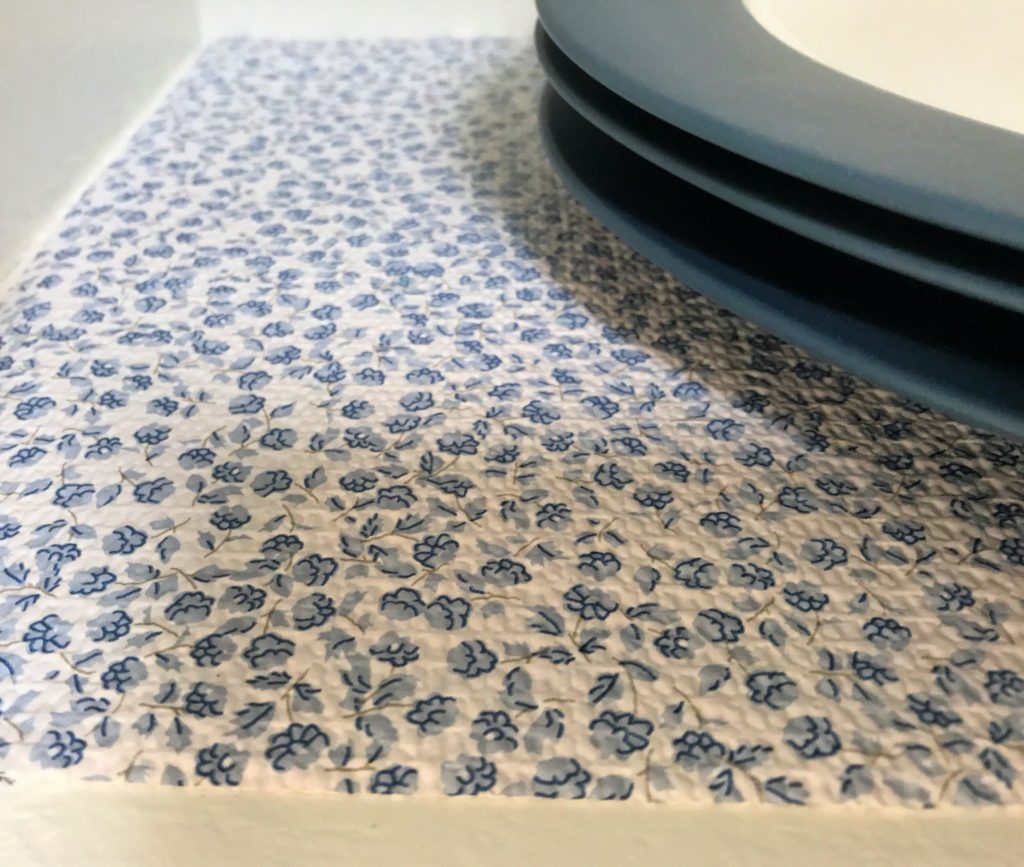
I added shelf paper before we put the dishes back in. You can buy adhesive paper or padded liners that keep the dishes from slipping. You can choose plain or decorative.
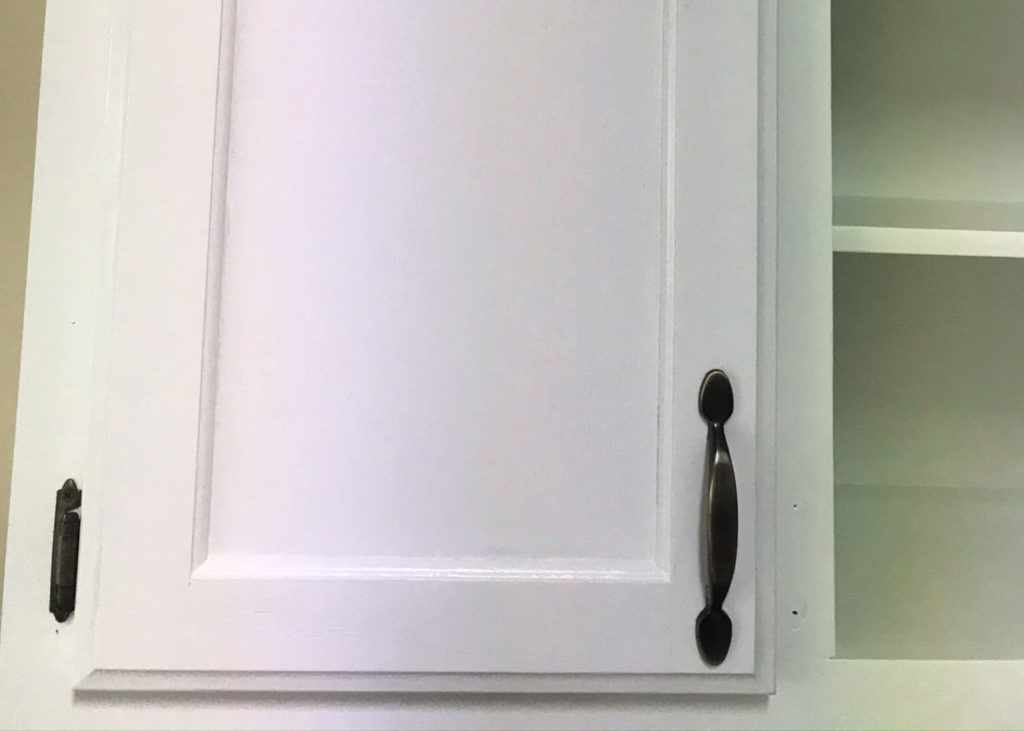
Now it is time to put the cabinets back together. Make sure you look at your labels to know where everything goes, and put the doors and drawers all back in the right spots.
If you are installing new hardware use a mounting template (special jig designed for cabinet and drawer hardware) to make sure everything is lined up correctly before you drill new holes.
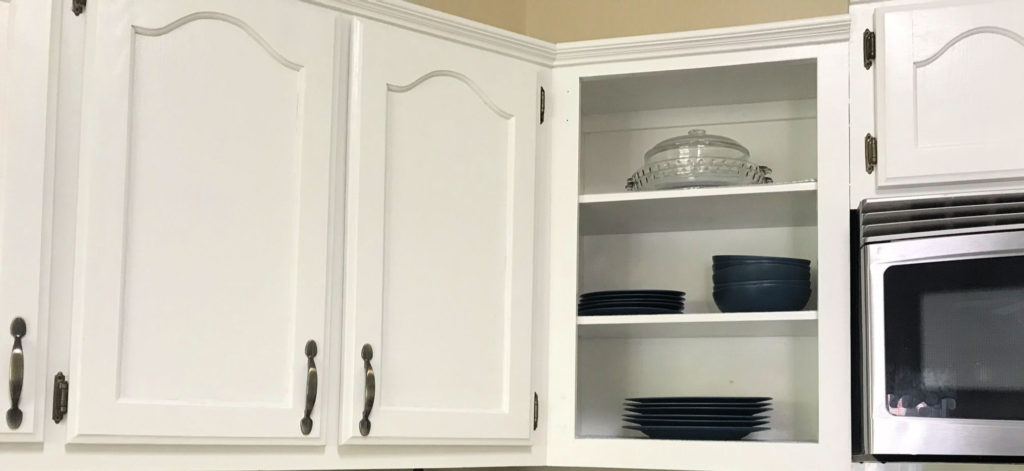
Now you can refill your cabinet shelves. I used this as an opportunity to clean out all the contents get rid of what I don’t use or need. I sold several items on Facebook resale sites and made a little cash!
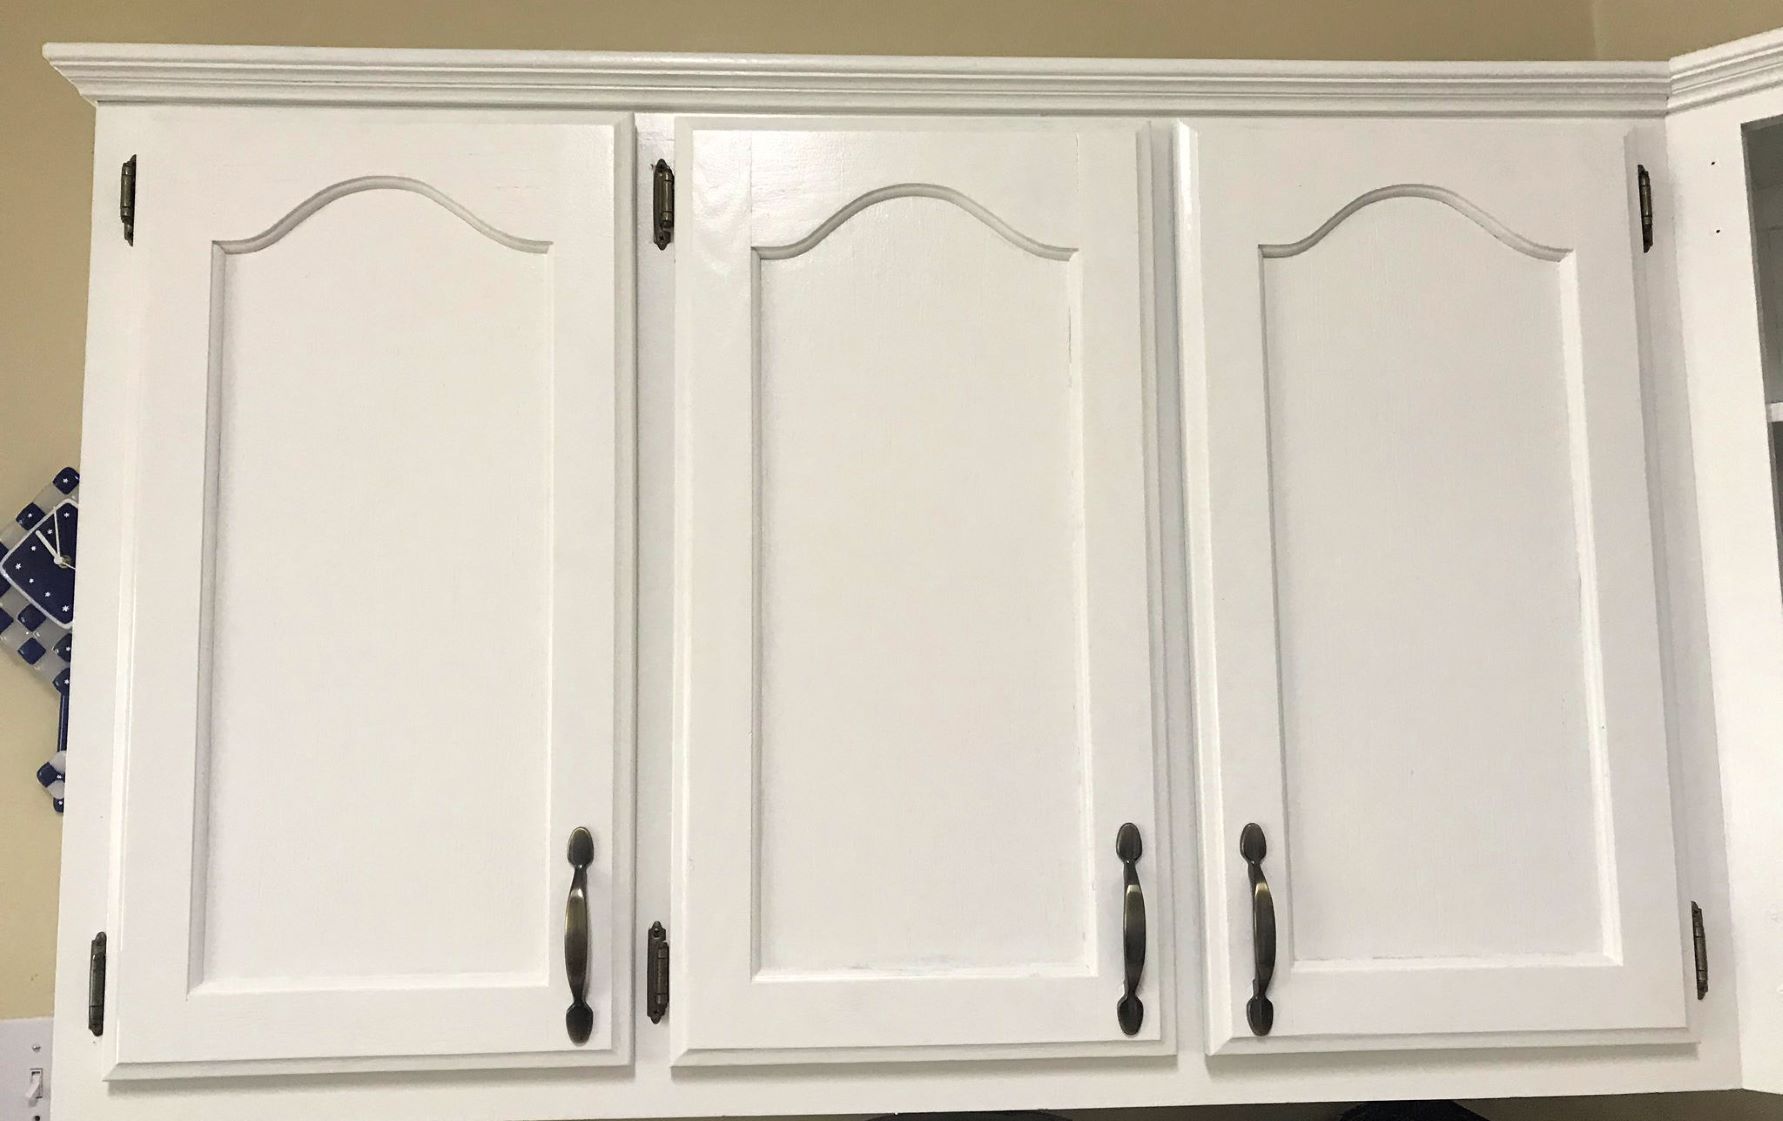
Now stand back and admire your work! Isn’t it beautiful? My husband gave me this “gift” for Christmas. He promised that he would paint my cabinets. And since school closed and I’ve been home, now was the perfect time. I love my new cabinets! It brightens up the kitchen and gives it a whole new updated look. Who’s got the best husband? Me! 🙂

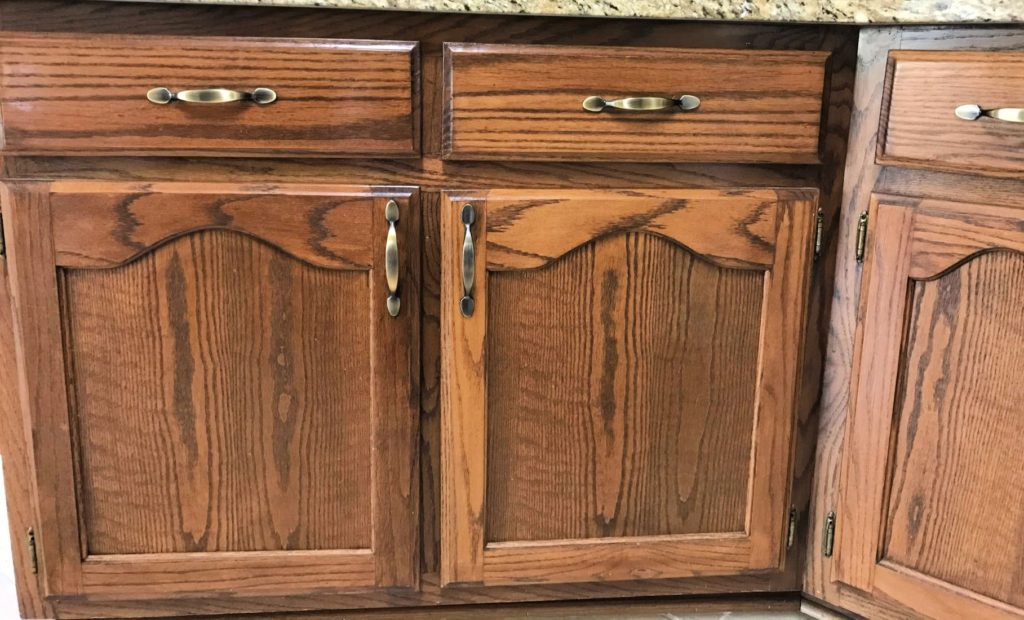
From Brown Stained Wood 
To Bright Cheery White
Check out our video link below:
What DIY project have you been wanting to try? Have you accomplished something big around your home during this quarantine? I would love to hear about it. Please leave a comment below.


