Search

Category Archives: Food

how to cook a perfect steak on the grill

Have you ever had a steak that just wasn’t cooked right? So disappointing. There is nothing better than a perfectly cooked steak, but with so many ways to get it wrong it is no wonder that grilling can be intimidating. After all, there is more to it than just meat, heat, and eat.

This post may contain affiliate links, and I may earn a little commission when you click these links at no additional cost to you. All opinions are my own.

Never fear! I have 6 simple steps to grilling the perfect steak on the charcoal grill every time. We love our new charcoal grill. But before I get into the grilling steps, let’s talk about which meat to buy.

What are the different grades of beef and which one should I choose?

What do we mean when we say “grades of beef?” Maybe you have never considered how the different grades of beef affect the texture and flavor profile of meat. There are basically three grades of beef steak that you will find in the grocery store or meat market: Prime, Choice, and Select. The USDA grade shields are assigned to beef to signify high-quality meat that is safe for eating. Suppliers, restaurant owners, and consumers rely on these grades to safely enjoy a variety of different beef products. The process of assigning a grade to beef is extremely rigorous, and it is not easy to make the grade of Prime, Choice, or Select.

Prime

This beef not only makes the grade, it is top of its class! It has superior quality and intramuscular fat content, which makes it extremely popular with steak connoisseurs. Most Prime beef is sold only in upscale fine restaurants and specialty beef suppliers. Only about 2 or 3% of beef makes the grade of Prime.

Choice

Choice beef is still good quality but has slightly less fat marbling than Prime. Marbling is when the fat is evenly distributed throughout the muscle, as opposed to a layer of fat on the outside edge. This makes the cut a little bit less juicy, but when prepared correctly it is still an excellent steak. Choice beef is the one you see most often in grocery stores and makes up over half of the beef people eat.

Select

Select is basically what you see advertised as the sale-priced meat. It has a lower fat content, making it the most uniform in quality, but it can also lack the moisture and flavor of higher grades. On the plus side it is leaner, which makes it have less calories, and if it is cooked properly it can still turn out to be a tasty steak.

However, most true steak lovers believe it is always worth it to pay the extra money per pound for the choice grade. It will say choice grade somewhere on the packaging, and it is usually well advertised as choice. If your grocery store carries Prime grade, that is even better!

Buy Choice or Prime Grade steaks for the best results.
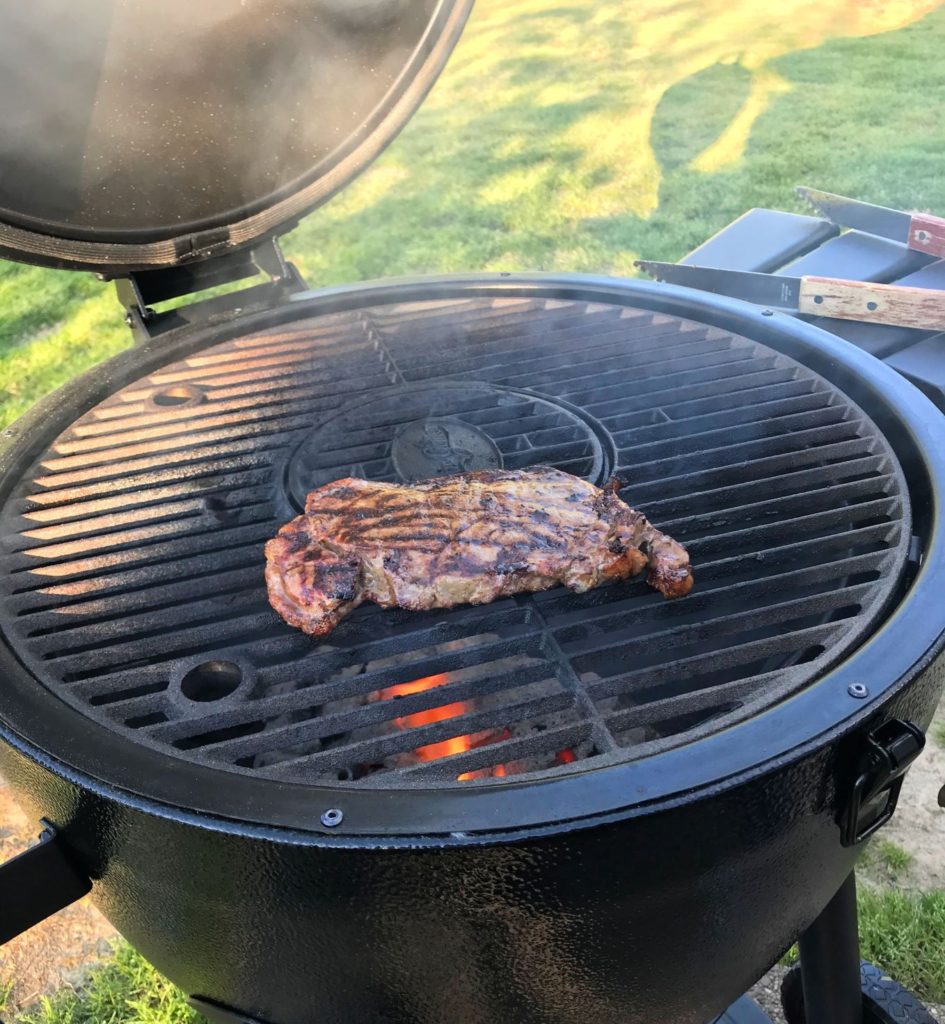
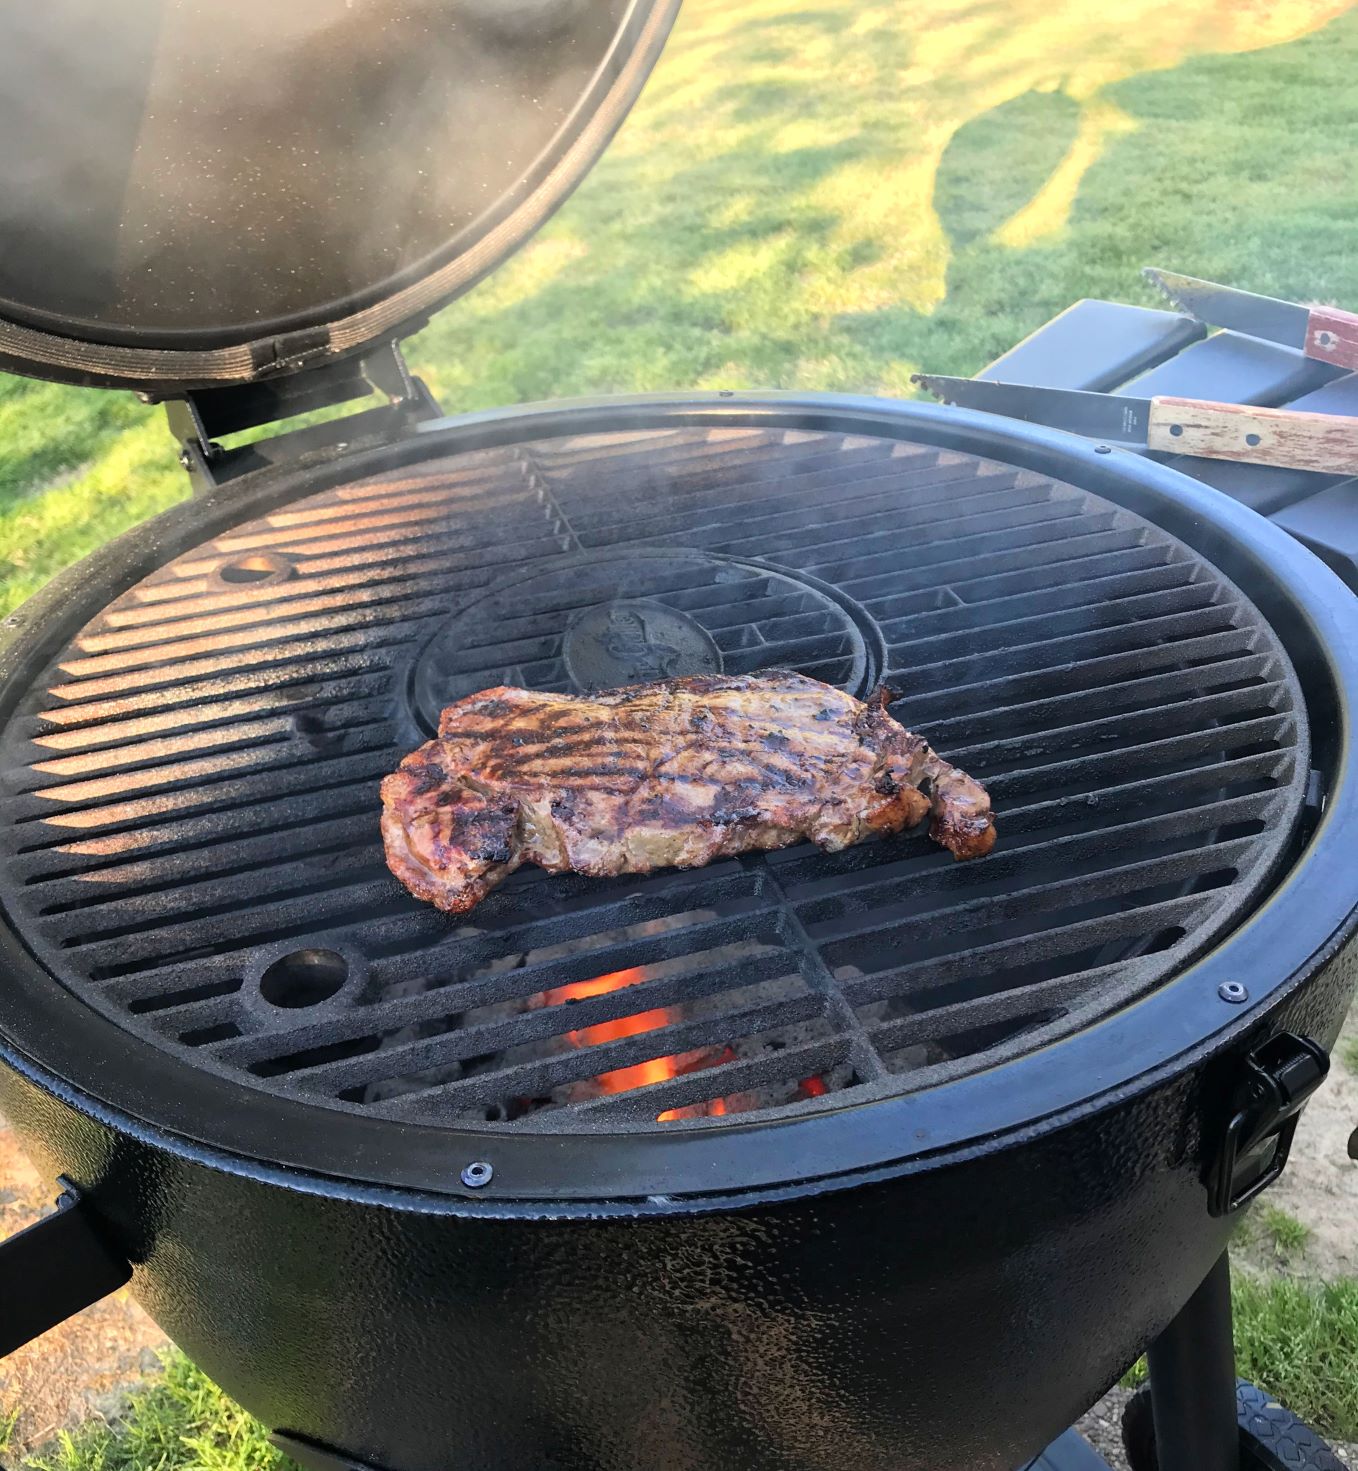
Sear steak on the hottest part of the grate.

How to Cook the Three Different Grades of Beef

Prime Beef

The moisture and flavor profile in Prime beef make it ideal for seasoning. According to beef purveyors Schweid & Sons the key to maximizing the flavor is to break up the meat and gently disperse the seasonings throughout, as seasoning on the outside can sometimes fall off the meat. The superior taste of Prime beef makes it an excellent choice for the more rare preparations.

Choice Beef

There is less fat content to cook off in this grade of beef, so you will have to be careful to try and reach the desired level of doneness before all the moisture melts away. The thicker it is the longer it will take to cook.

Select Beef

With Select beef you run the risk of having your steak come out too dry, so you need to be careful how you cook it. You may want to add a little bit of meat tenderizer or Worcestershire sauce to replace the flavor of fat. It is usually best to marinate Select cuts before cooking or braise them to obtain maximum tenderness and flavor. Only the tender cuts should be cooked with dry heat.

What temperature should steak be cooked to?

People can be very particular about how their steak is cooked. Medium Rare is the standard most chefs use. Cooked medium rare the steak will be tender, juicy, and if it is prepared correctly will practically melt in your mouth.

The chart below will help you please everyone’s tastes, from steak that is practically raw on the plate to dry as a bone with “no pink” as some like to say. Cooking times vary and depend on the thickness of the cut, so it is best to go with the temperature rather than a cooking time. You can use an instant read meat thermometer for the most accurate results.

With practice you can tell how cooked a steak is just by feel alone. As my husband says on the video the tougher it feels the more done it is. He has gotten so good at grilling steaks (I call him the Grill Master) that he can tell when a steak is ready without even using a meat thermometer.
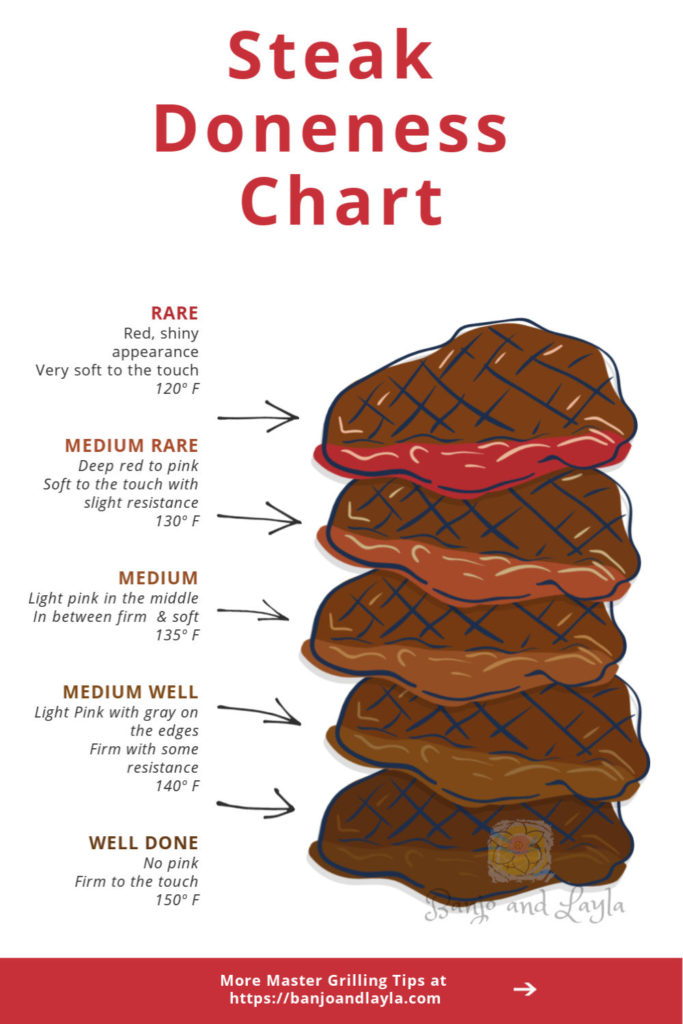
Go by temperature, not cook time for the best steaks.

Which cut of steak should I get?

The cut of steak you use depends on what you like in a steak and the flavor you prefer. There are 5 main cuts of steak, and each one differs a little in their texture and tenderness. Here is a brief description and some benefits of each one.

Top Sirloin Steak

Top Sirloin comes from the back area that is off the short loin area. This is a less expensive cut of steak but can still be tender and tasty, especially if marinated before cooking. The bones and the round muscles on the bottom have been removed from this type of steak. If you are on a tight budget Top Sirloin might be a good option for you.

Porterhouse and T-Bone Steaks

I put these two together in the same category, because they are very similar cuts of beef that both come from the short loin. They both have a T-shaped bone in the middle and contain two different pieces of meat: the tenderloin and the strip steak.

Basically Porterhouse steaks are cut from the rear end of the short loin and have a bigger portion of the tenderloin, while T-Bone steaks are cut from the front end and have a smaller portion of the tenderloin. Those are the main differences. What’s great is that there are really two different steaks in one! The bone in the middle keeps things cooking evenly, where one side is tender and the other very meaty.

New York Strip Steak

New York Strip steak is a lean cut of beef that comes from the short loin area. It is one side of the porterhouse or T-bone steak described above, and it is always served boneless. There is very little fat in this cut, and it is quite popular.

Ribeye Steak

Ribeye is a beef steak that is cut from the middle rib area. You can buy it bone-in or boneless. Ribeye steak is a flavorful, marbled piece of meat and can be very tender when cooked hot and fast. This is a fattier cut of steak, but that is what makes it taste so good. The marbling of fat makes it a melt-in-your-mouth steak when cooked correctly. The bone-in kind cooks a little more evenly than the boneless steak.

Filet Mignon

Filet Mignon comes from the small tip portion of the tenderloin and is the most tender of the beef steaks. Although tender, it is actually very lean. Prepared many times wrapped in bacon, it can be a little pricey but is so delicious. It is one of my favorites.

6 Steps to Grilling the Perfect Steak

1. Fire up the Grill
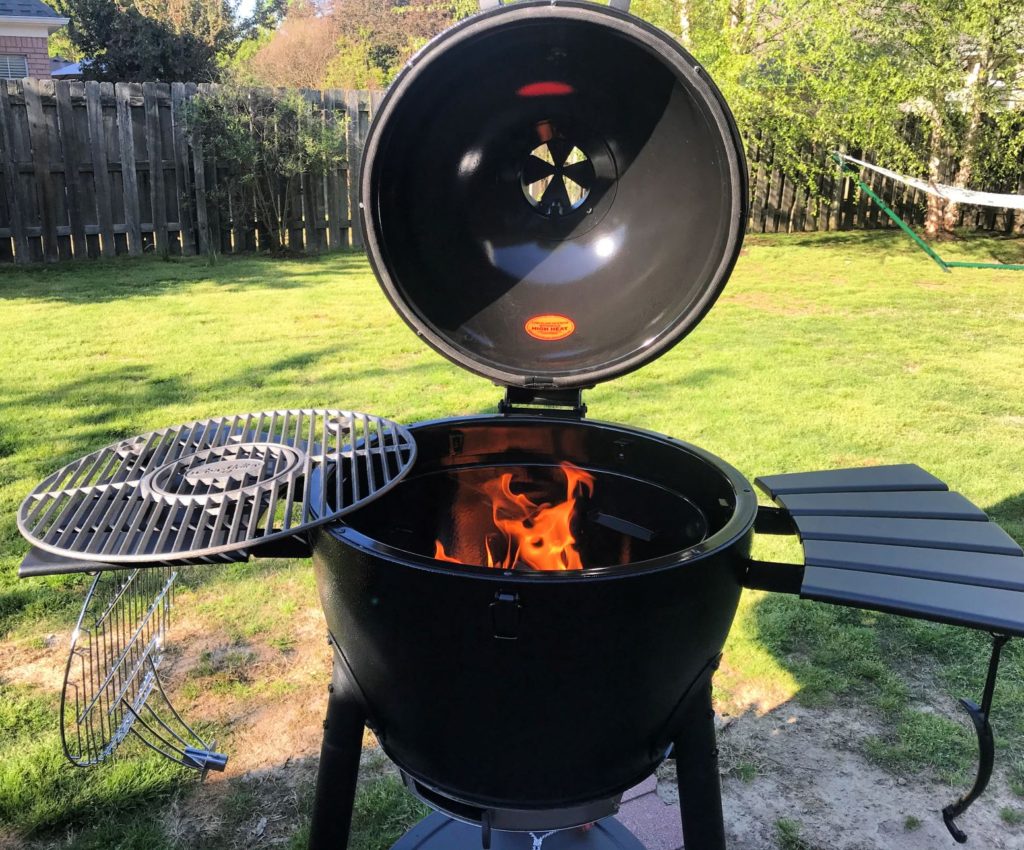
The charcoal needs to be very hot in order to properly cook steak.

We just got a new Char Griller Acorn grill, and my husband loves it. It is his new toy. For grilling steaks, you will want the heat as high as possible. You want it extremely hot, or your steak will cook unevenly. First make a chimney of charcoal and light it up. That makes the center hotter than the outside part of the grate. My husband uses a box fan to get air more quickly to the flames. You will know the charcoal is ready when they turn almost white. When the charcoal is ready, put the top grate back on. Allow it to heat up with all the vents fully open, then pour cooking oil on a folded paper towel and oil the grate using long-handled tongs.

2. Season the Steak

Never cook a steak straight from the refrigerator. A cold steak will cook unevenly. Always take the steak out of the refrigerator and let it sit for about 30 minutes until it reaches room temperature. Trim excess fat off of it to avoid flame flare-ups, and vertically slash the thin piece of fat around the outside of the steak to keep it from curling. Generously apply coarse salt and freshly ground pepper. Flip the steak and repeat the process. Salt and pepper should be all you need for a high grade cut of meat, because the natural flavors are enough.

3. Sear and Flip the Steak

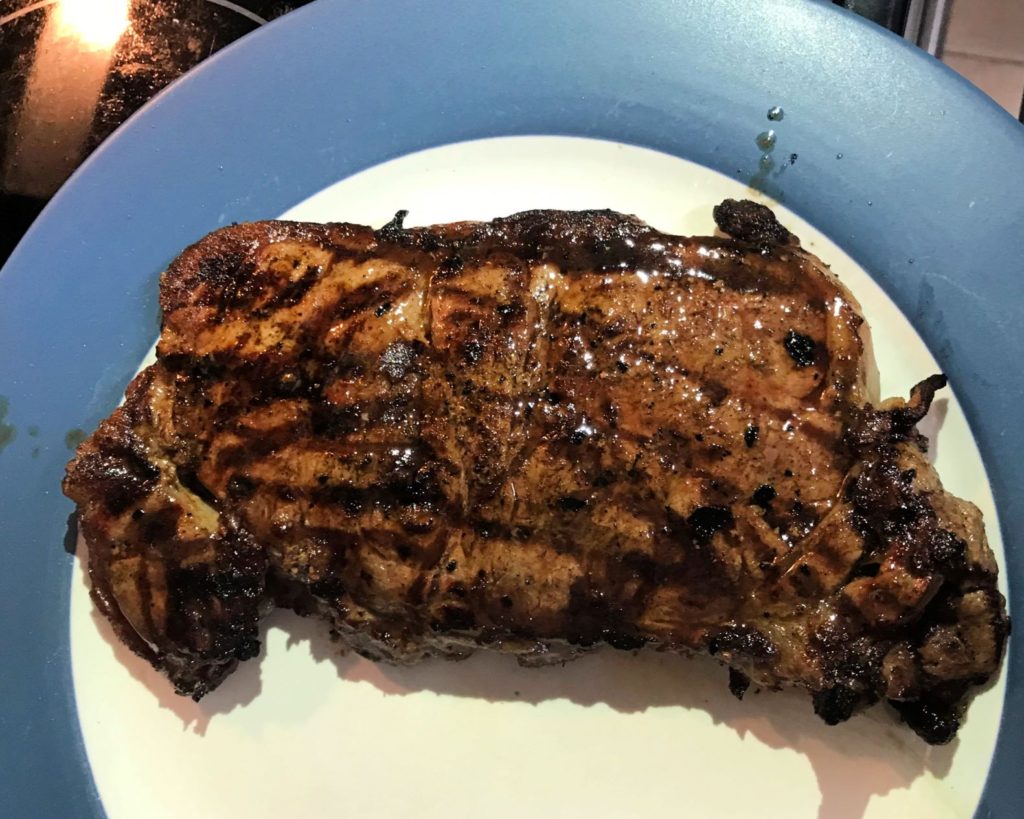
Place the steak at the hottest part of the grate, directly above the coals, and let it sear a few minutes, then flip the steak over and sear the other side for the same amount of time. During this searing process, do not move the steak around with the tongs, because this will keep you from getting those great looking grill marks. Close the lid to prevent flame flare-ups. It is a myth that searing locks in juices. However, it does give steak that crusty covering and assures great flavor.

4. Slide the Steak

Searing may be all you need unless your steak is very thick. If the steak is more than 1 inch thick, after you have seared the steak, slide it over to the warm side of the grate but not directly over the coals. Close the lid and continue to cook the steak until it’s at your desired temperature for doneness (see chart from earlier). You do not need to flip the steak during this time.

5. Check for Doneness


Using a digital instant read meat thermometer, check the temperature of the steak while it’s still on the grill. Using the Steak Doneness Chart, grill the steak to your desired taste. Keep in mind that the steak will continue to cook a few degrees more after it’s removed from the grill.

One of the most important parts of grilling a steak is taking it off the heat before it has lost too much moisture. There is a short window of time, usually just a minute or two, when steaks go from medium rare to medium, or from medium to medium well.

You have to stay alert to keep from overcooking your steak. Never walk away from a steak on the grill. And remember, it’s always better to take it off when it’s underdone and then return it to the grill than it is to let a steak get too done. Once that happens, you can’t fix it.

6. Remove Steak and Let it Rest

After removing the steak from the grill, put it on a plate or cutting board and set a loose piece of aluminum foil over it. Let it rest for about 5 minutes, because the temperature will keep going up a little bit and the juices will blend into the meat.

Did you try this method? Let me know how it worked out!

Richard the Grill Master of the Baker House
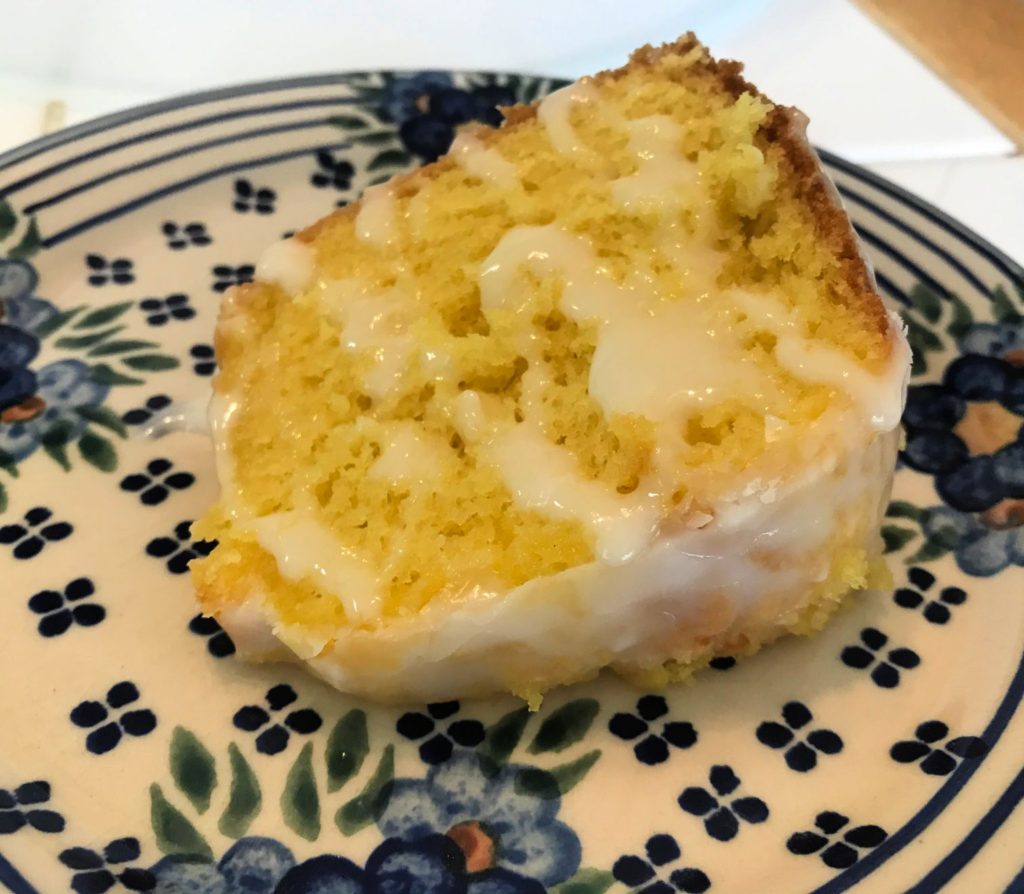
Lucious Lemon Pound Cake

This is my Mom’s recipe, and Mom is an awesome cook! I love the combination of tart and sweet together. It goes great with coffee, and it tastes just as good cold from the refrigerator as it does warmed up.

The sweet and tart taste pairs well with coffee.

I like to cut half of it into slices and freeze them, so that I have something yummy to pull out and serve if company stops by. It looks so fancy and delicious, making it a perfect choice to make when you want to impress your guests. It may look complicated, but it is super easy to make.

This cake is always a hit at pot luck dinners!

Cake Ingredients

  • 1 pkg Lemon Supreme Cake Mix (I use Duncan Hines)
  • 1 pkg Instant pudding mix, lemon flavored (4 serving size)
  • 1/3 cup vegetable oil
  • 1 cup water
  • 4 eggs

Glaze Topping Ingredients

  • 1 1/2 cup powdered sugar (confectioners sugar)
  • Real Lemon juice

Instructions for Cake

  • Preheat oven to 350 degrees F. Grease and flour a bundt or tube pan (cooking spray then flour is also OK).
  • Blend all ingredients together in a large bowl. Beat at medium speed for 2 minutes.
You only need one bowl, because you mix all ingredients together at once.
  • Bake until a toothpick inserted in the middle comes out clean (about 50 – 60 minutes).
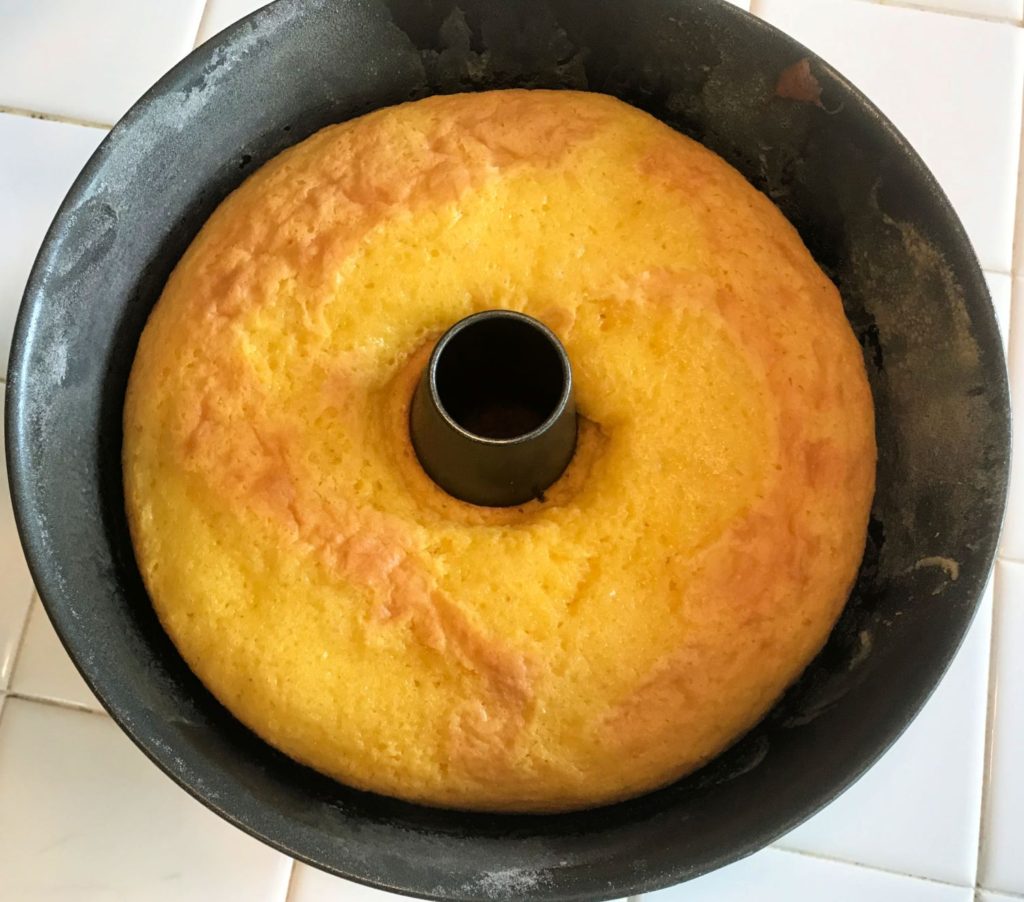
  • Cool cake in the pan for at least 30 minutes before removing it from the pan.
The best way to keep the cake from falling apart when you try to take it out of the pan is to let it cool completely first. I let this one cool for one hour before I turned it upside down.

Instructions for Glaze Topping

In a medium bowl slowly pour in lemon juice, stirring until the consistency is thin enough to drizzle.

Don’t make it too thin, or it may be runny. Too much lemon juice will also mask the sweetness, and you want your topping to taste sweet.

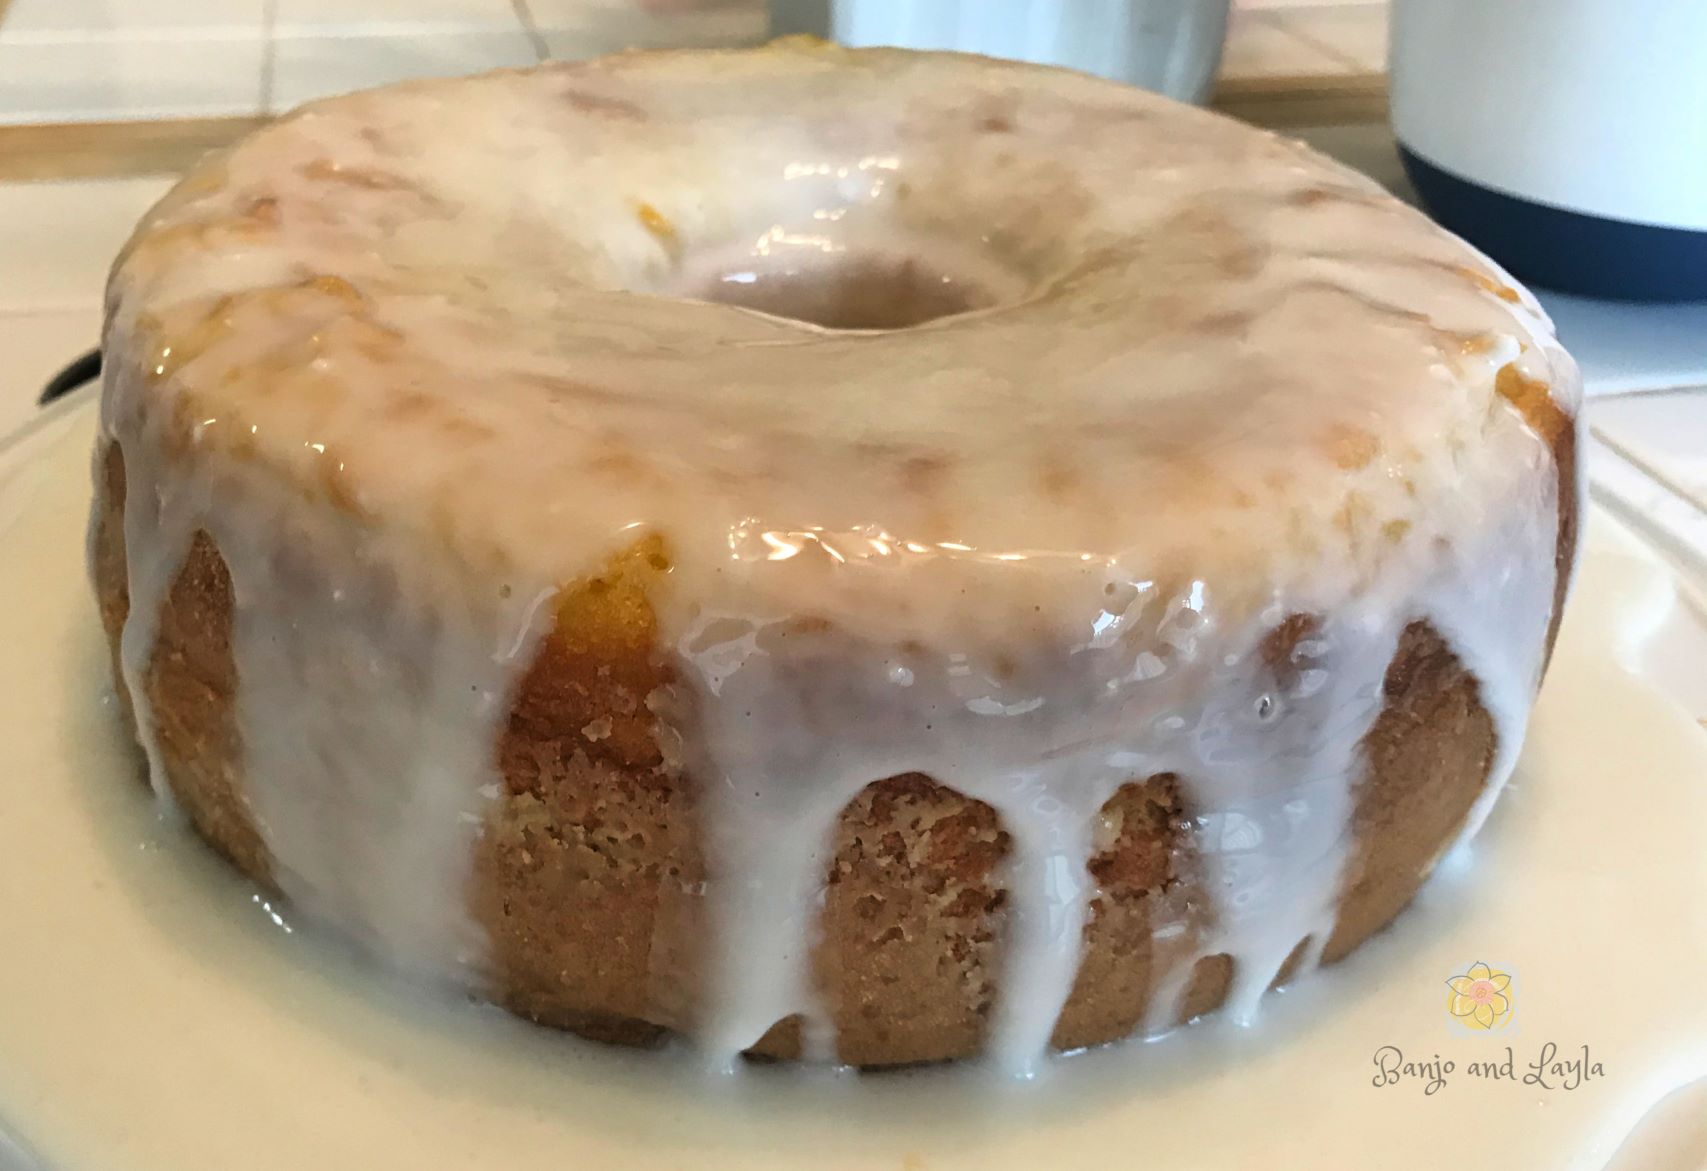
Pour and drizzle the glaze topping over the top of the cake and let it run down the sides.

Pour and drizzle the glaze onto the top and let it run down the sides.
Make sure the cake is completely cooled off first, because if it is warm it will melt the glaze, making all of it run off into the pan (Trust me; I speak from experience).
You do not have to use up all the glaze.
I might have gotten a little too excited about the glaze on this one. 🙂

It’s OK if some of it runs off the cake onto the cake dish. I like to spoon some of that extra onto my slice before I eat it!

Use the extra icing runoff to make each slice look fancy before you serve it.

Luscious Lemon Pound Cake

Lemond pound cake with a powdered sugar glaze goes great with coffee any time of day.
Prep Time20 minutes
Cook Time50 minutes
Resting Time to Cool30 minutes
Total Time1 hour 40 minutes
Course: Breakfast, Dessert
Cuisine: American
Keyword: Lemon cake, lemon juice, Lemon pound cake, lemon pudding, powdered sugar
Servings: 10
Calories: 110kcal

Ingredients

  • 1 pkg Lemon Supreme Cake Mix (I use Duncan Hines)
  • 1 pkg Instant pudding mix, lemon flavored (4 serving size)
  • 1/3 cup vegetable oil
  • 1 cup water
  • 4 eggs

Glaze Topping

  • 1 1/2 cup powdered sugar (confectioners sugar)
  • Real Lemon juice

Instructions

  • Preheat oven to 350 degrees F. Grease and flour a bundt or tube pan (cooking spray then flour is also OK).
  • Blend all ingredients together in a large bowl. Beat at medium speed for 2 minutes.
  • Bake until a toothpick inserted in the middle comes out clean (about 50 – 60 minutes).
  • Cool cake in the pan for at least 30 minutes before removing it from the pan.

Glaze Topping

  • In a medium bowl slowly pour in lemon juice, stirring until the consistency is thin enough to drizzle.
  • Pour the glaze topping over the cake in a drizzle pattern.

Nutrition

Calories: 110kcal
Spinach Cheese Hot Pockets

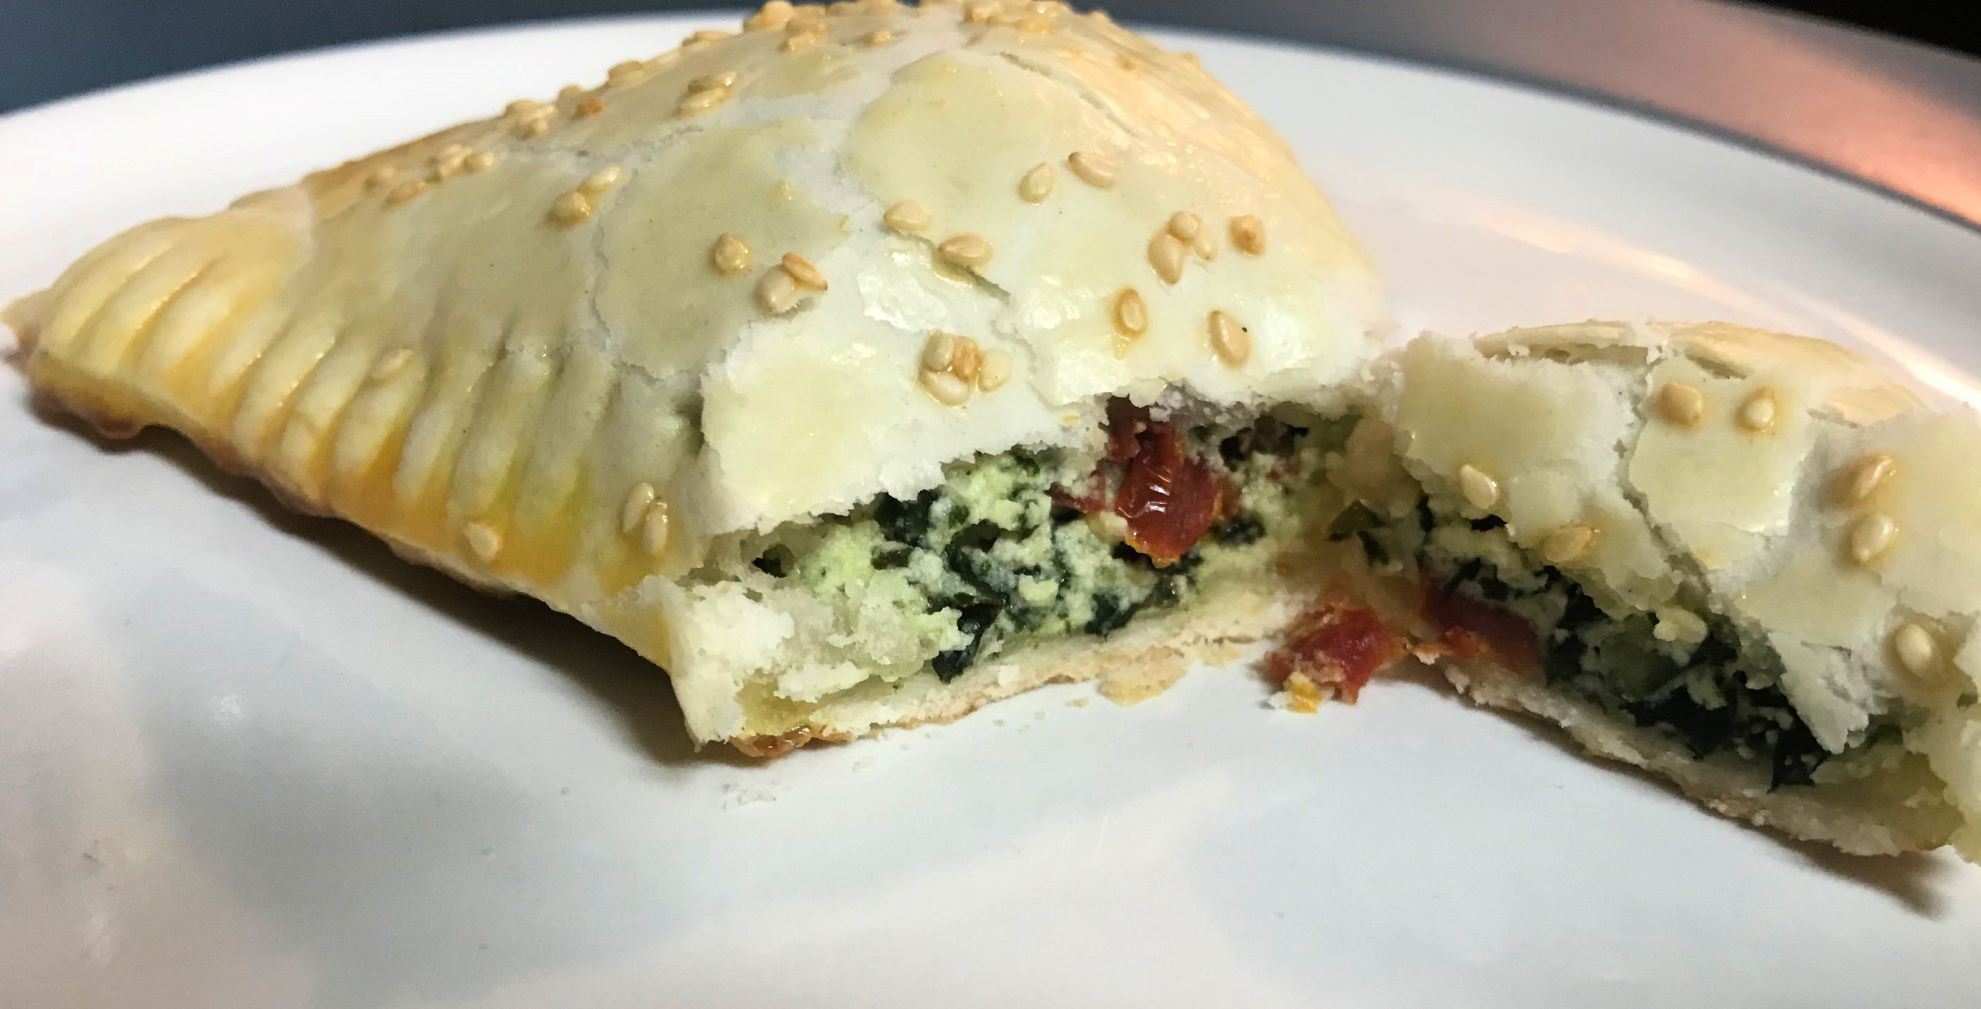
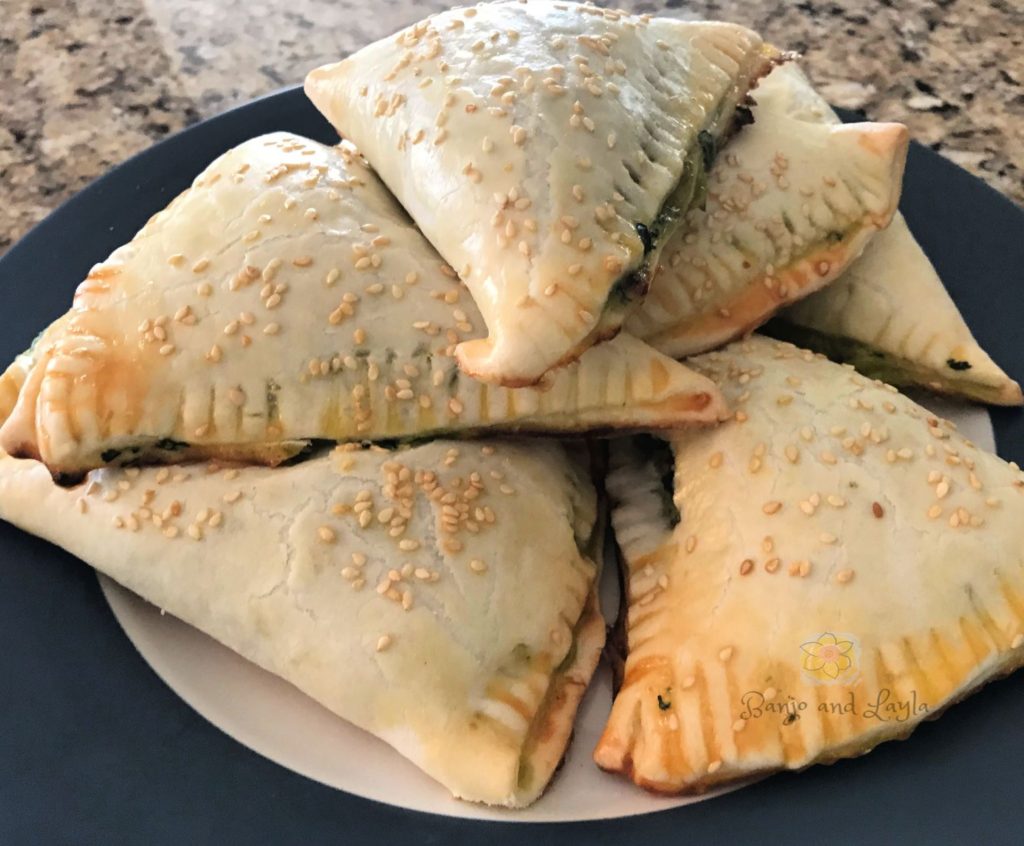
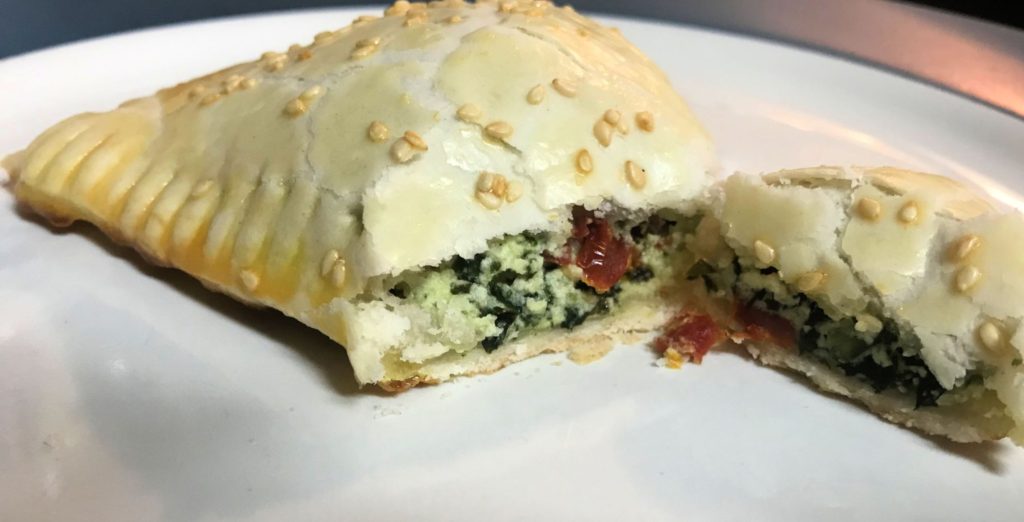
These delicious little hand held mini pies look fancy, but the recipe is actually very simple. They make a great addition to a holiday brunch and can be frozen to pull out and heat up for breakfast on the go. Spinach, basil, and sun-dried tomatoes go well together in these yummy breakfast pockets.

I first saw this recipe on Good Housekeeping magazine’s website.

Ingredients:

  • 2 large eggs
  • 1 cup ricotta cheese
  • 1 cup baby spinach roughly chopped
  • 1/2 cup basil chopped
  • 1/4 cup sun-dried tomatoes finely chopped
  • 1/4 tsp red pepper flakes (optional)
  • salt
  • 2 refrigerated rolled pie crusts (from 15 oz. box of two)
  • Sesame seeds (for sprinkling on top)

Instructions:

  • Heat oven to 400 degrees F. Line a large rimmed baking sheet with parchment paper.
  • In a small bowl, whisk together 1 of the eggs with 1 Tbs water; set aside.
  • In a medium bowl stir together ricotta cheese, spinach, basil, tomatoes, red papper flakes, the remaining egg, and salt.
Ricotta Cheese Mixture
  • Unroll pie crusts on a cutting board and cut each into 4 wedges.
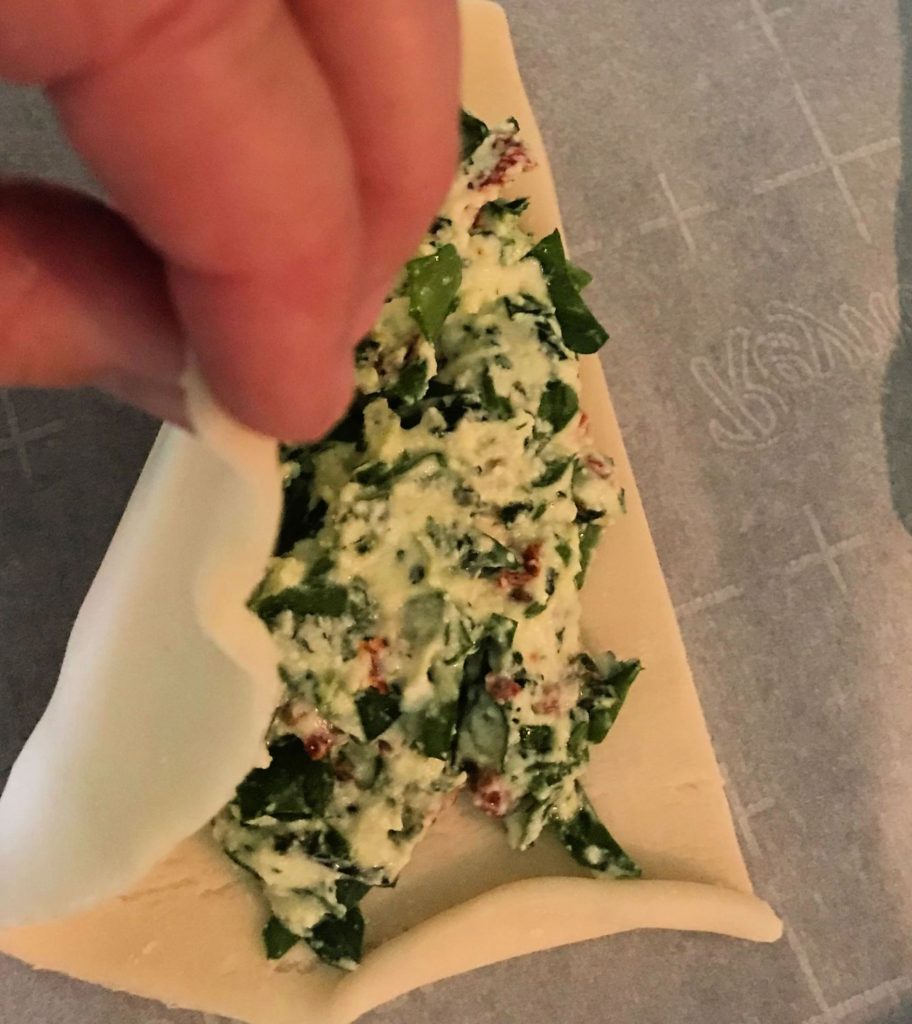
  • Place 2-3 tablespoons of ricotta mixture on one side of each wedge.
Put about 2 heaping tablespoons of the ricotta mixture on half the wedge. Then fold it over.
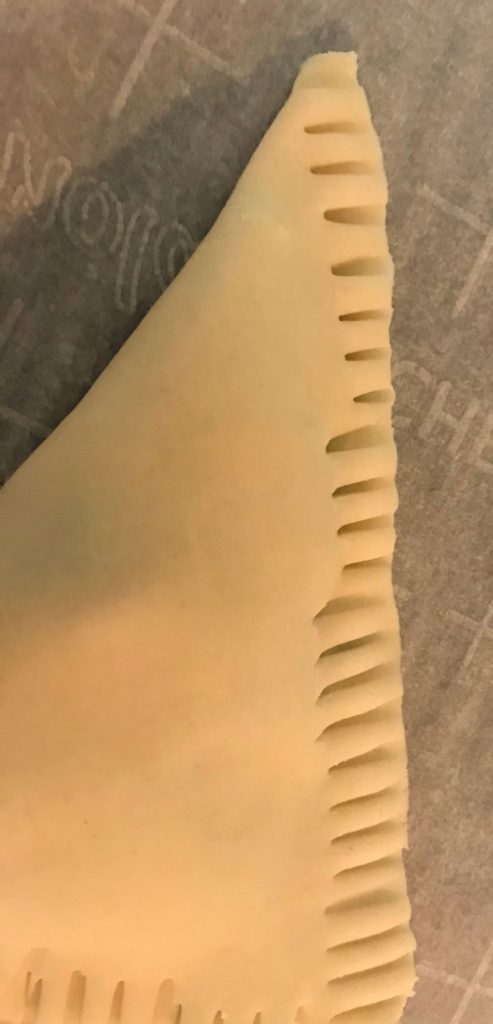
Crimp the edges down with a fork to seal it.
  • Transfer to prepared baking sheet. Brush tops with egg mixture and sprinkle with sesame seeds.
  • Bake until golden brown, 17 – 20 minutes.
These can be frozen and heated up individually as a healthy grab and go breakfast!

Spinach Cheese Hot Pockets

Delicious Mini Pies Filled With Spinach, Cheese, and Sun Dried Tomatoes
Prep Time20 minutes
Cook Time20 minutes
Total Time40 minutes
Course: Appetizer, Breakfast, Side Dish
Cuisine: American
Keyword: Basil, Brunch, Cheese, Hot Pockets, Pie Crust, Spinach, Spinach Cheese Hot Pockets, Sun Dried Tomatoes
Servings: 8
Calories: 260kcal

Ingredients

  • 2 large eggs
  • 1 cup ricotta cheese
  • 1 cup baby spinach roughly chopped
  • 1/2 cup basil chopped
  • 1/4 cup sun-dried tomatoes finely chopped
  • 1/4 tsp red pepper flakes (optional)
  • salt
  • 2 refrigerated rolled pie crusts (from 15 oz. box of two)
  • Sesame seeds (for sprinkling on top)

Instructions

  • Heat oven to 400 degrees F. Line a large rimmed baking sheet with parchment paper.
  • In a small bowl, whisk together 1 of the eggs with 1 Tbs water; set aside.
  • In a medium bowl stir together ricotta cheese, spinach, basil, tomatoes, red papper flakes, the remaining egg, and salt.
  • Unroll pie crusts on a cutting board and cut each into 4 wedges.
  • Place 2-3 tablespoons of ricotta mixture on one side of each wedge.
  • Fold dough over to cover the mixture and press edges with a fork to seal.
  • Transfer to prepared baking sheet. Brush tops with egg mixture and sprinkle with sesame seeds.
  • Bake until golden brown, 17 – 20 minutes.

Nutrition

Calories: 260kcal
creamy chicken casserole with Ritz cracker topping

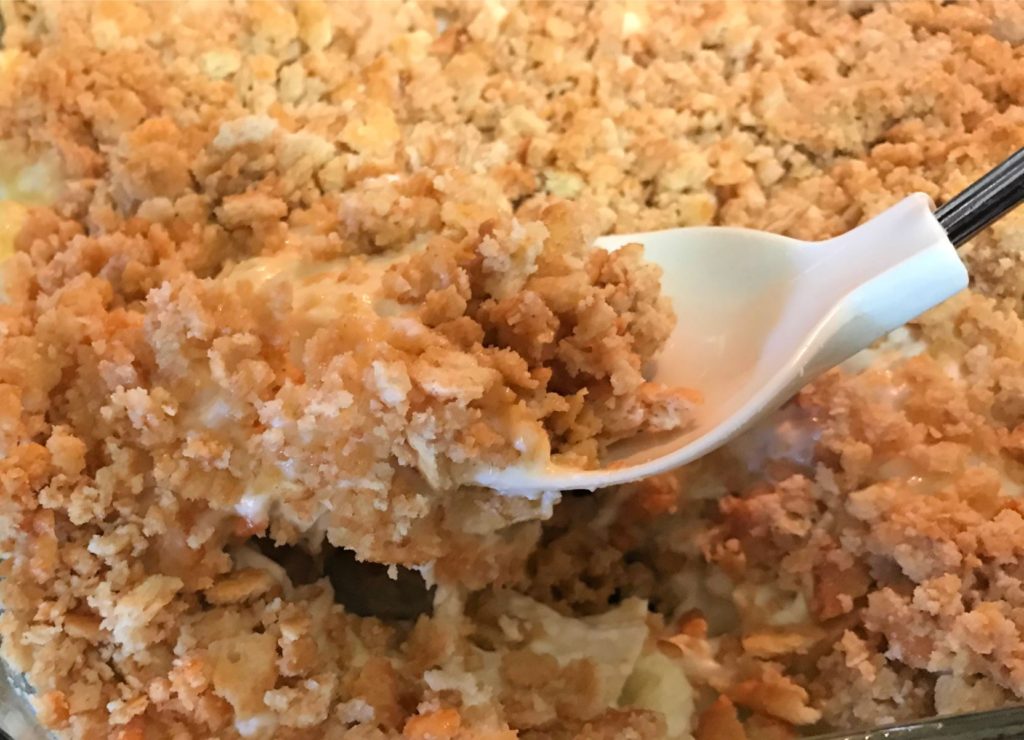
I love chicken casseroles. In fact I love chicken so much that I once thought of opening up a chicken restaurant. This recipe is a popular favorite. It’s a great way to use up leftover chicken or turkey after the holidays as well.

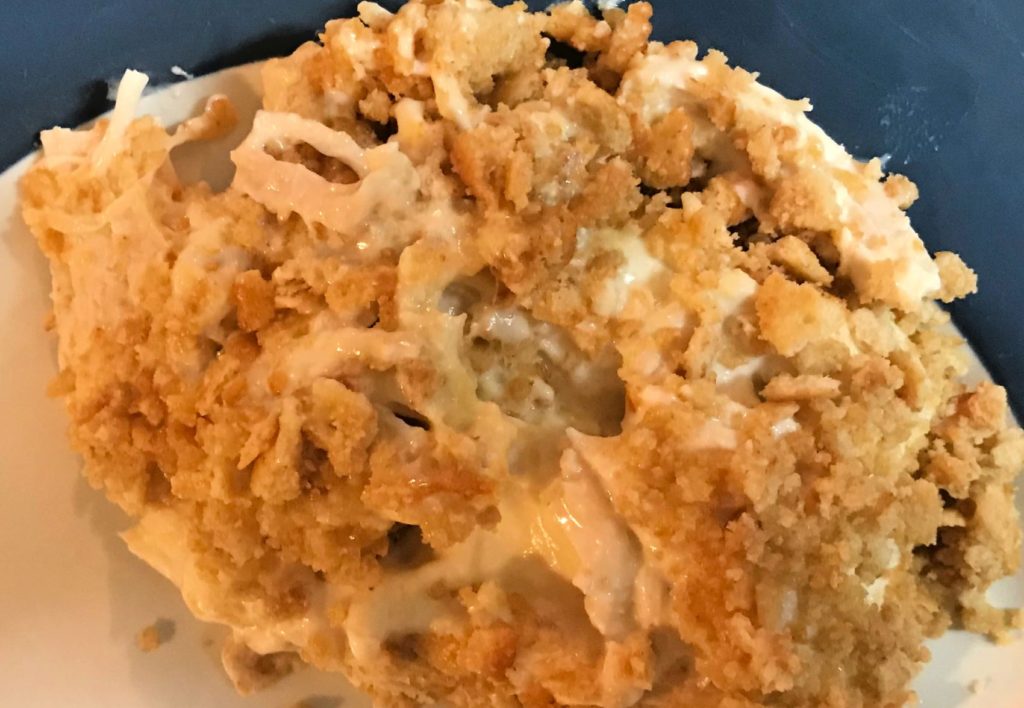
This chicken casserole is a family favorite!

This pan of creamy cheesy deliciousness is good ole American comfort food at its finest. It tastes great, is super easy to make, and uses only a few simple pantry staples, making it inexpensive to cook. I’m giving you the basic version, but there are lots of possible variations. Feel free to be creative and change it up to suit your taste.

Many versions of this recipe call for poppy seeds, but to me they don’t really have much taste and they get stuck in my teeth. But you can put poppy seeds on top if you want. You can add in any vegetable such as steamed brocolli, mushrooms, water chesnuts, onion, carrots, chopped green onions, or just about any vegetable you want.

Some have added a can of Campbell’s chicken noodle soup. That sounds good, but I’ve never tried it. You could also try the condensed cream of chicken with herbs soup instead.

This makes a great easy weeknight family meal and may quickly become one of your go-to classic favorites. If you are only cooking for one or two people this can easily be split into two smaller pans, and you can freeze one. Make sure you double wrap it though to avoid freezer burn. It can also be made ahead of time and frozen to eat later.

Here is all you need:

1 cooked rotisserie chicken from the grocery store (de-boned and shredded)

1 10.5 oz. can condensed cream of chicken soup

1 cup sour cream

1 cup shredded blend cheese (I used Mexican blend)

2 sleeves Ritz crackers, crushed up

1 stick (1/2 cup) salted butter, melted

Instructions:

  1. Preheat oven to 350 degrees.
  2. Spray a 9 x 9 square baking dish (or a 2.5 quart baking dish) with no-stick cooking spray. Note: a 9×13 dish is OK, but cooking time may need to be shortened 5 minutes.
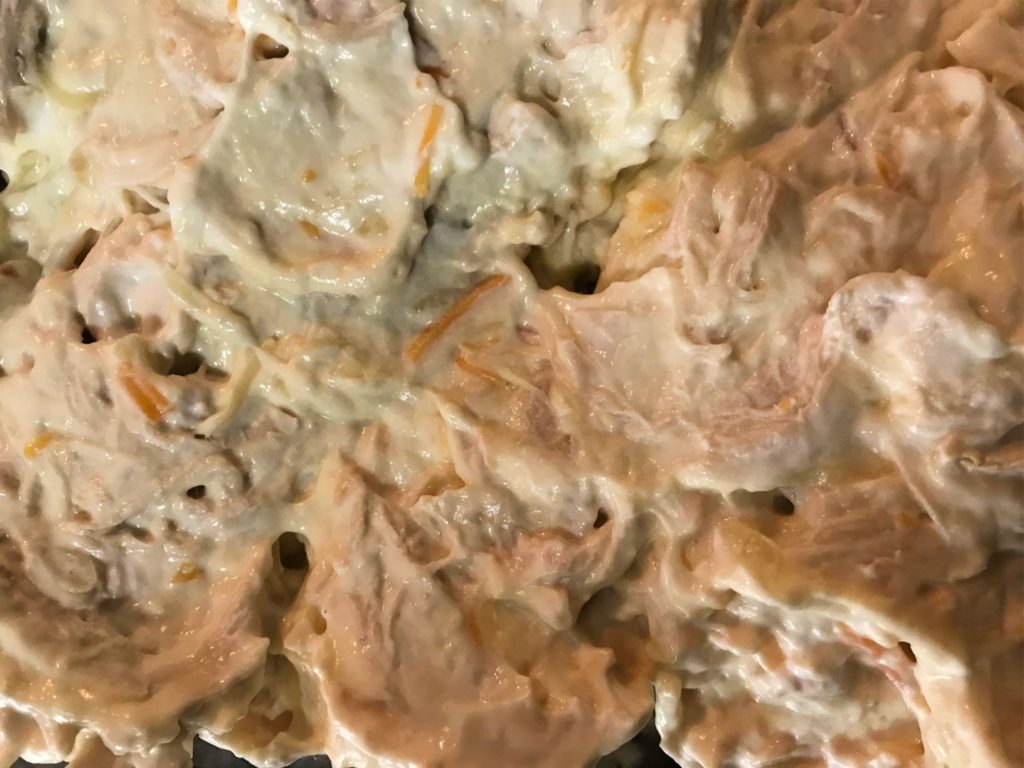
  3. In a large bowl mix together soup, sour cream, cheese, and shredded chicken.
  4. Spread mixture into the pan.
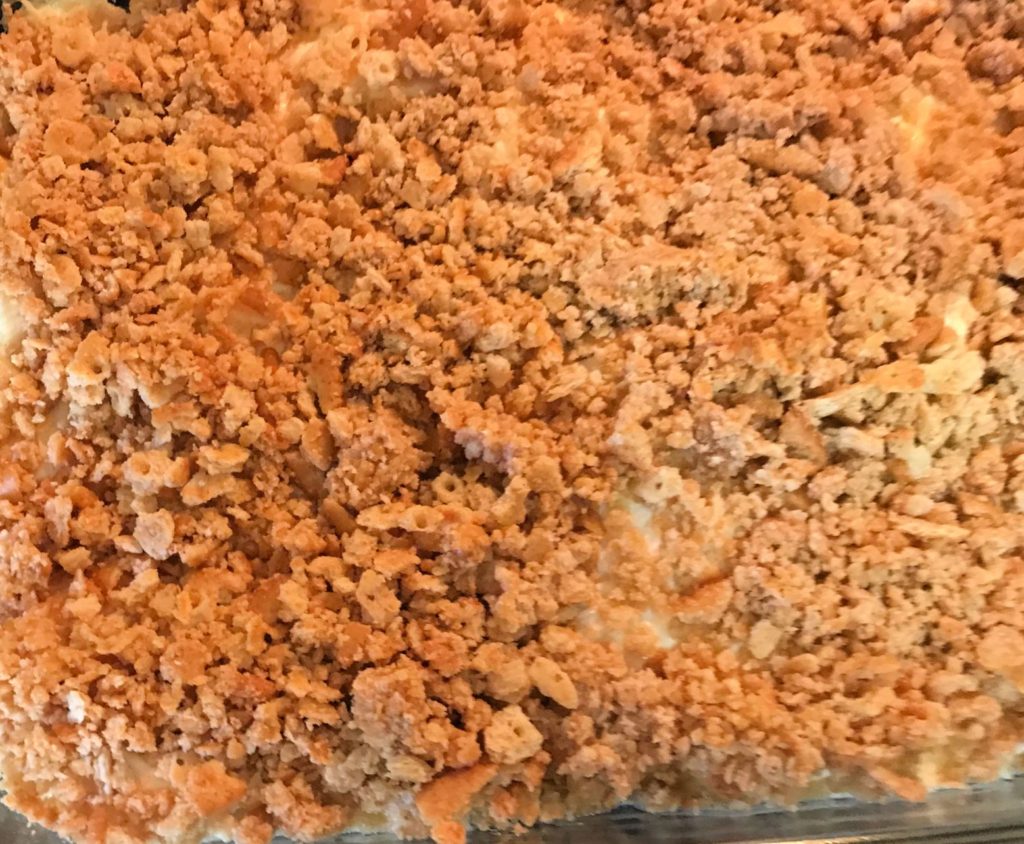
  5. In another bowl mix together the crumbled crackers and melted butter.
  6. Sprinkle the cracker mixture over the casserole.
  7. Bake 25 – 30 minutes until the cracker topping is golden brown and the casserole is bubbly.
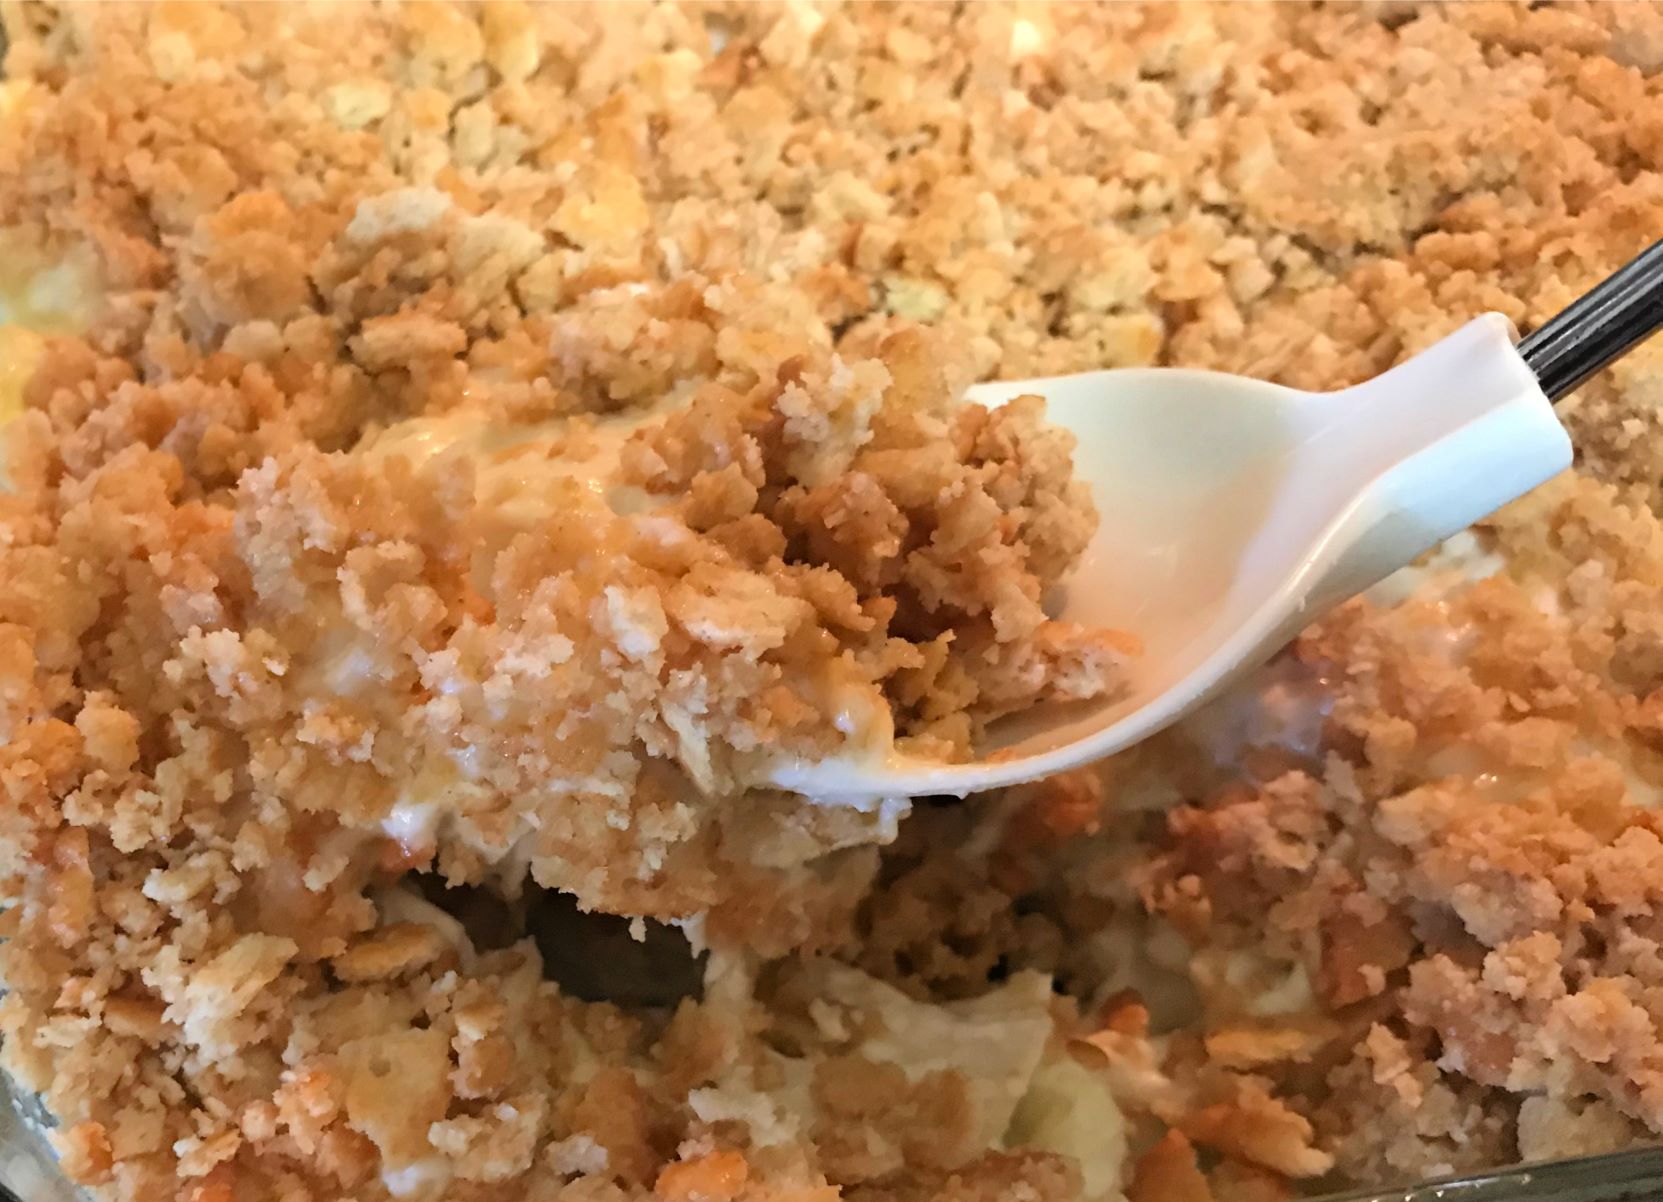
Just mix up 4 simple ingredients and spread it in the dish.
Then sprinkle the crumbled crackers mixed with melted butter on top.
This creamy deliciousness makes a great comfort food.

This great served with green beans or a tossed green salad and rice. I think this may be one of your favorites too! I hope you like it. Let me know how it turns out!
Creamy Chicken Casserole with Ritz Cracker Topping

Easy Recipe for Creamy Chicken Casserole with Ritz Cracker Topping
Prep Time10 minutes
Cook Time25 minutes
Total Time35 minutes
Course: Main Course
Cuisine: American
Servings: 6
Calories: 480kcal

Ingredients

  • 1 cooked rotisserie chicken (store-bought) de-boned and shredded
  • 1 10.5 oz. can condensed cream of chicken soup
  • 1 cup sour cream
  • 1 cup shredded Mexican blend cheese
  • 2 sleeves Ritz crackers crushed
  • 1/2 cup (1 stick) salted butter melted

Instructions

  • Preheat oven to 350 degrees.
  • Spray a 9×9 square baking dish (or 2.5 quart baking dish) with no-stick cooking spray.
  • In a large bowl mix together the soup, sour cream, cheese, and shredded chicken.
  • Spread the mixture into the dish.
  • In another bowl combine crushed crackers with melted butter.
  • Sprinkle the cracker mixture over the casserole.
  • Bake uncovered for 25-30 minutes or until the topping is golden brown and the casserole is bubbly.

Notes

Add in broccoli, green onions, water chesnuts, mushrooms, or any veggie you’d like to make it a complete meal. To lower the calories use low fat sour cream and no cheese. Great for pot luck dinners!

Nutrition

Calories: 480kcal
Skillet Italian Macaroni Recipe

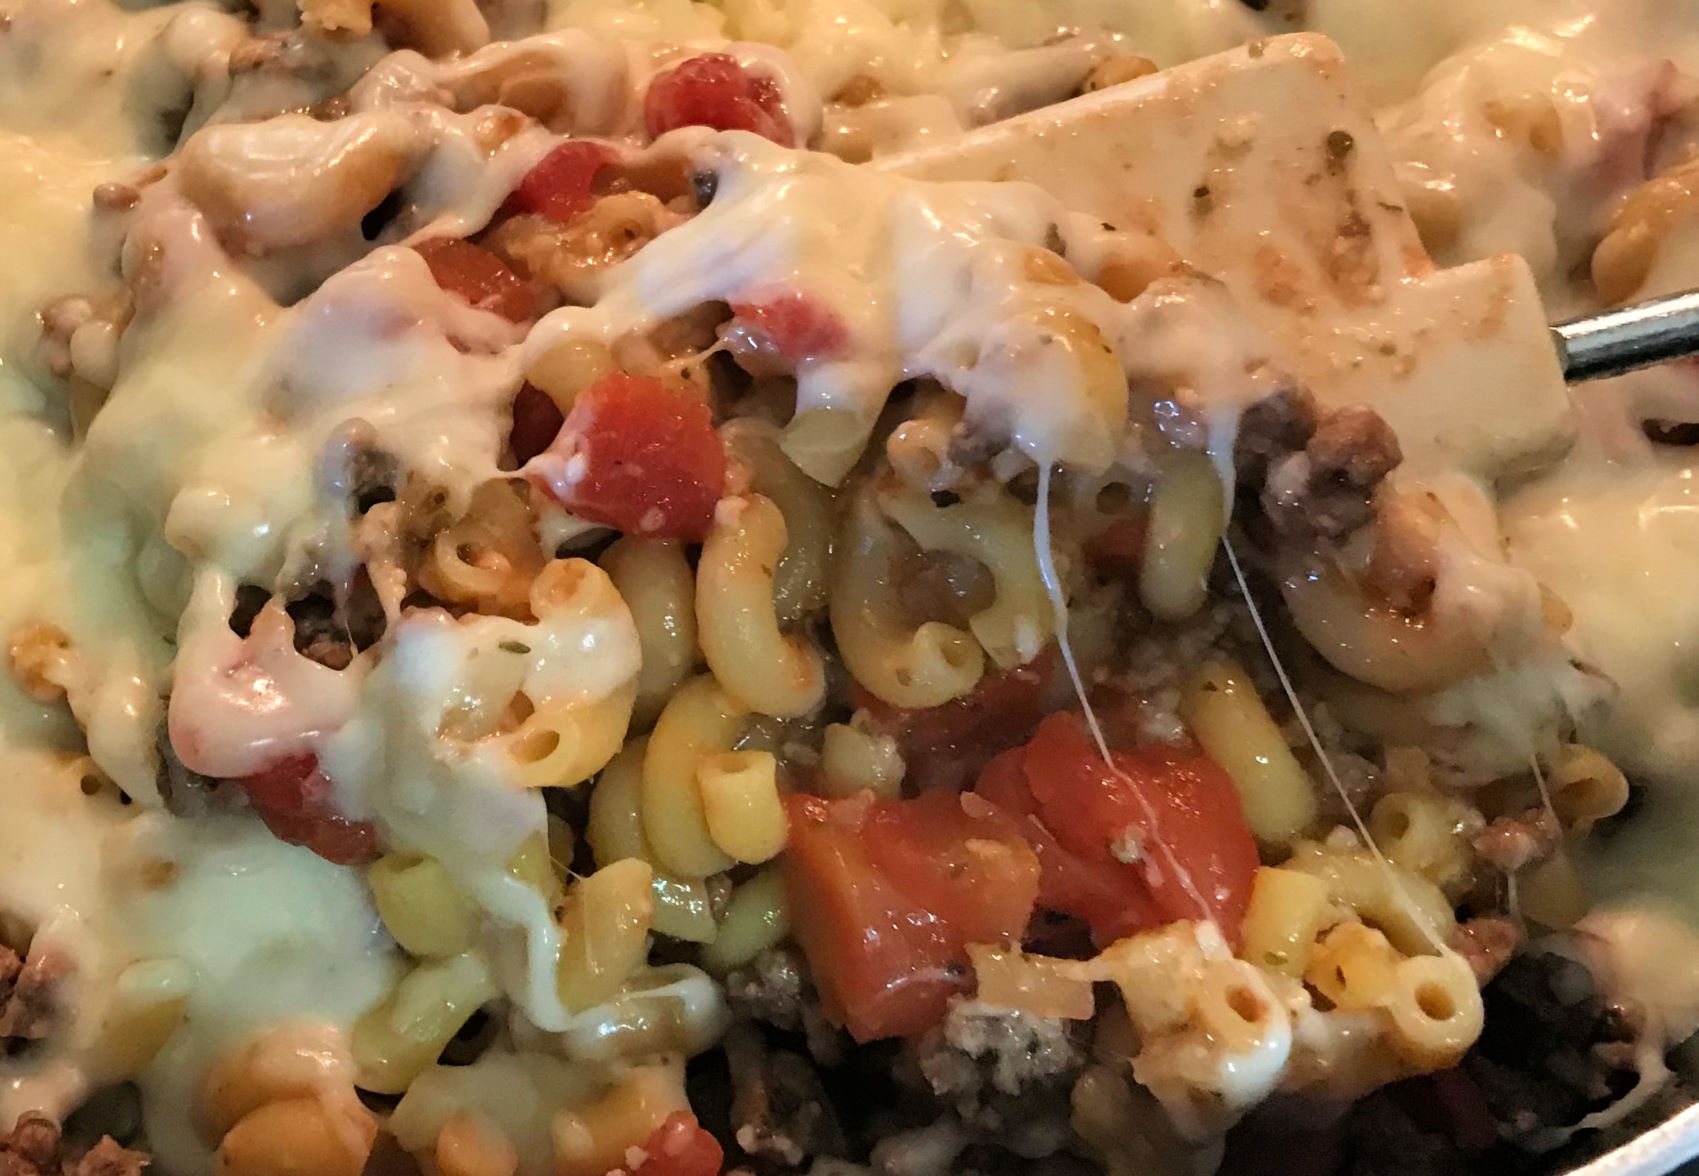
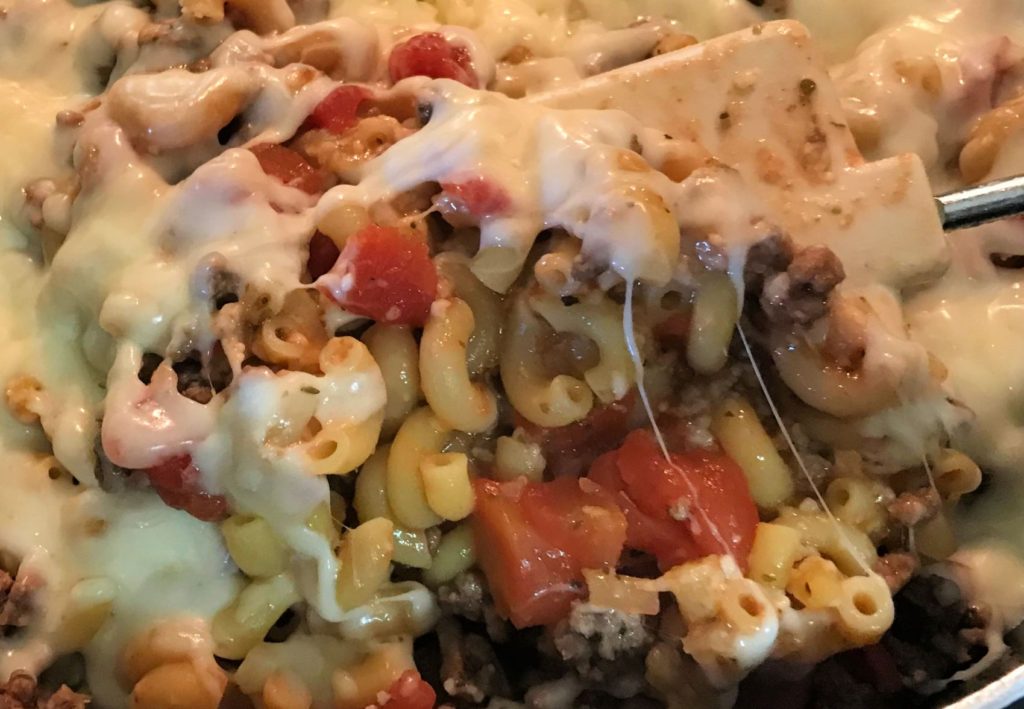
Need some quick and easy dinner recipes? Have ground beef in your freezer and no idea what to make tonight? All you need need is a skillet and a stovetop for this easy Italian recipe.

Easy dinner recipe

I love it, because the ingredients are inexpensive, it is easy and quick to make, and it is really delicious. It is one of my husband’s favorites. There are so many different variations you can try. I hope you like it too. Let me know what you think. Here is is:

Ingredients

  • 1 pound ground beef
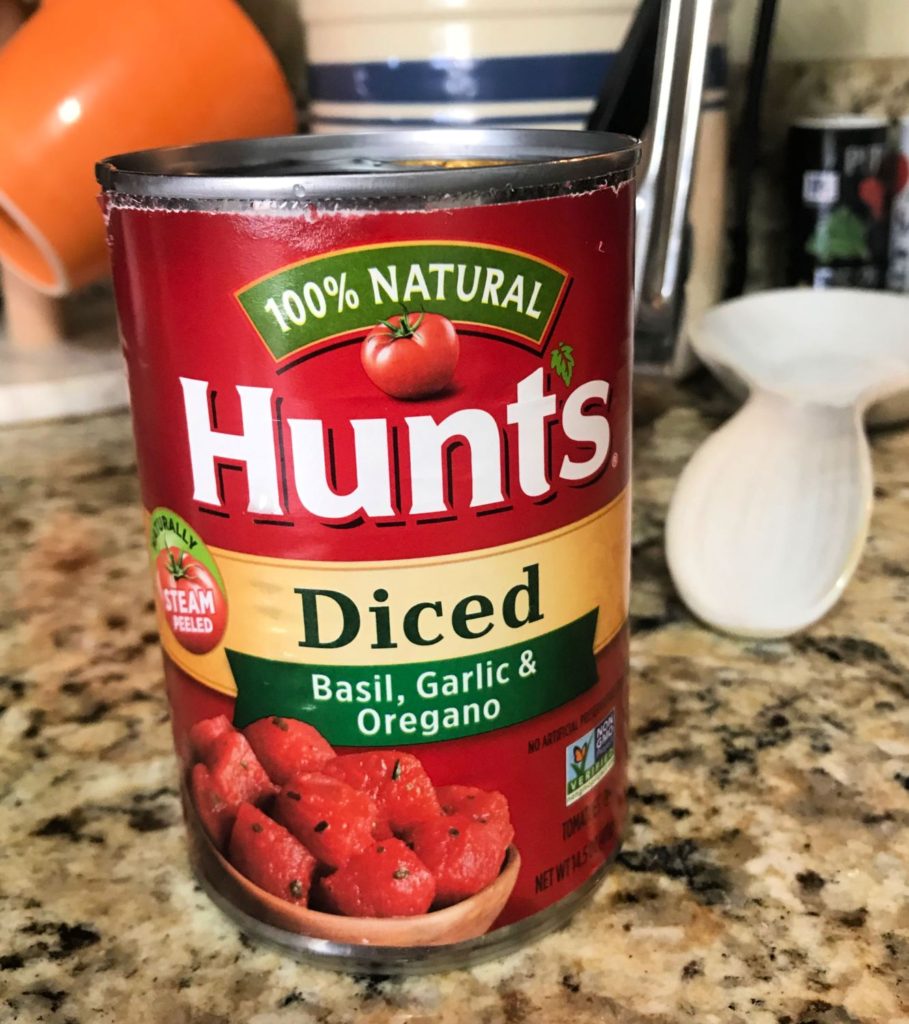
  • 2 cans (14.5 ounces) diced seasoned tomatoes, undrained
  • 1/4 cup finely chopped onion
  • 2 cups water
  • 1 envelope onion soup mix
  • 1 teaspoon Italian seasoning
  • 2 cups uncooked elbow macaroni
  • 1/2 cup grated Parmesan cheese
  • 2 cups shredded mozzarella cheese
  • 1 1/2 cup fresh spinach (optional)
These are the tomatoes I use.

Directions

  • In a large skillet on the stovetop, cook beef over medium high heat until no longer pink; drain. Add in the onion and saute until soft.
  • Add the tomatoes, water, soup mix, and Italian seasoning. Bring to a boil. Stir in macaroni. Reduce heat; cover and simmer for 8-9 minutes or until macaroni is tender.
  • Add in the fresh spinach if desired and stir about 1 minute.
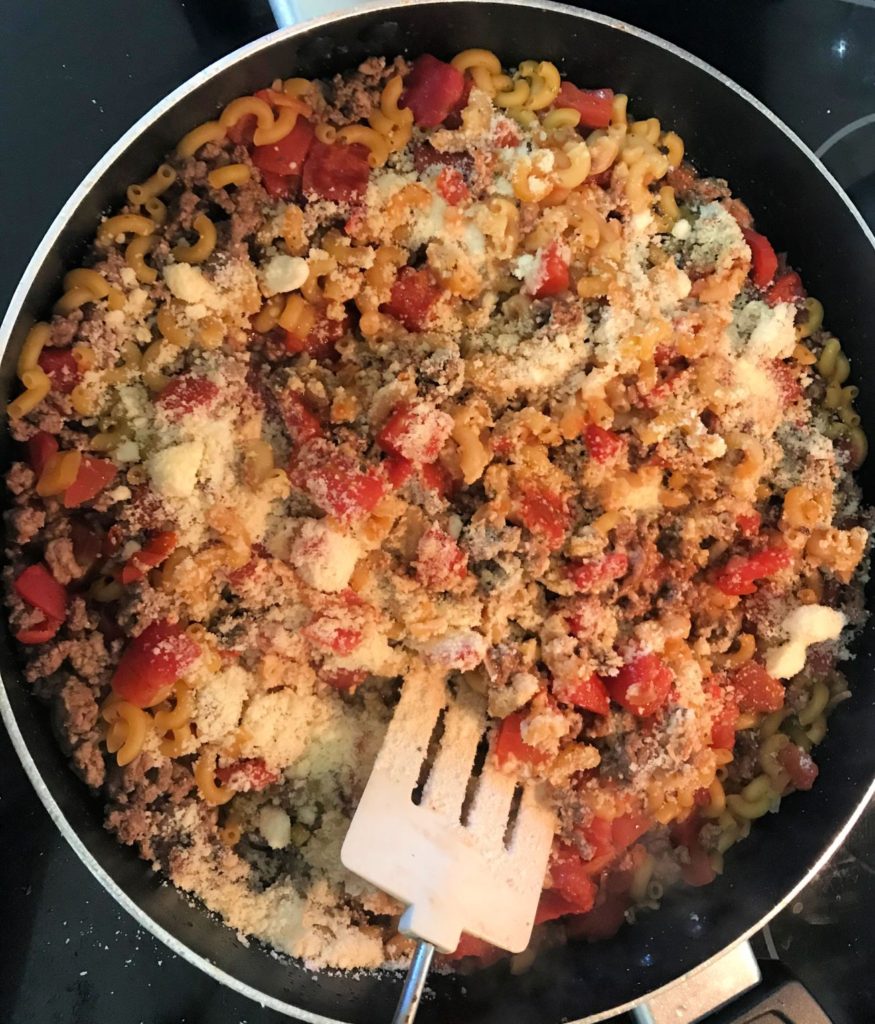
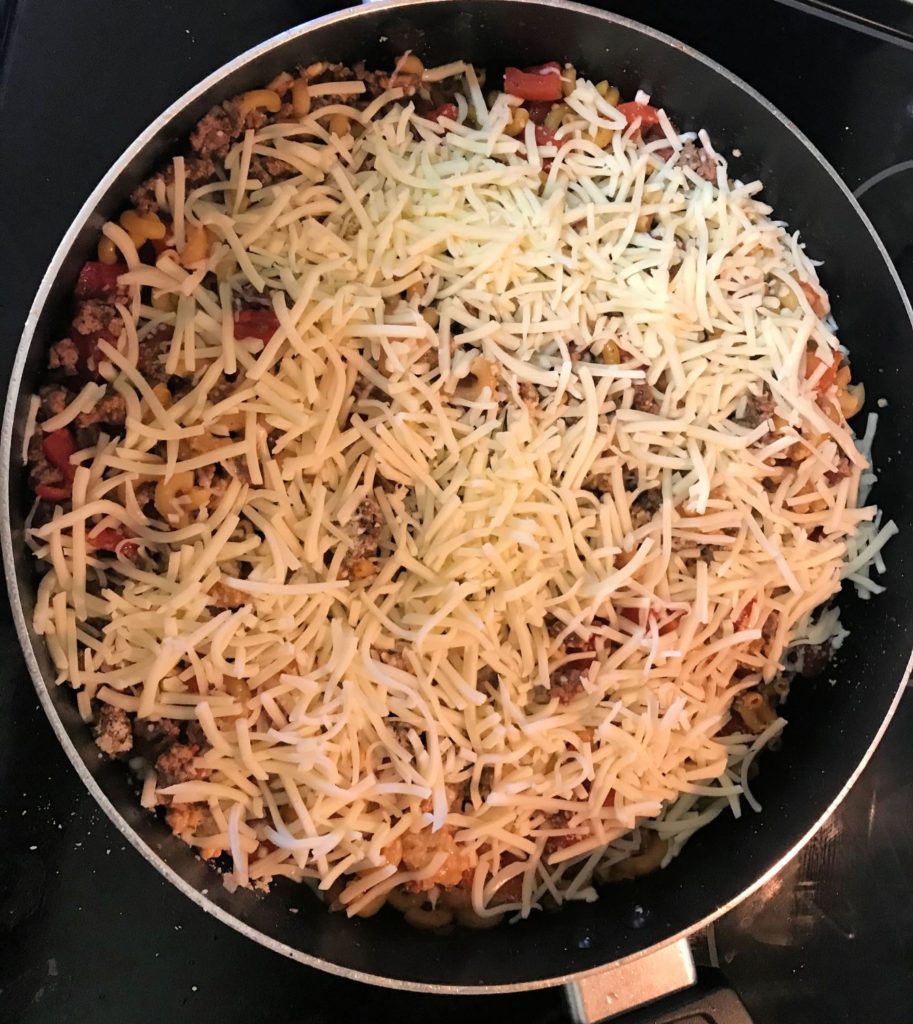
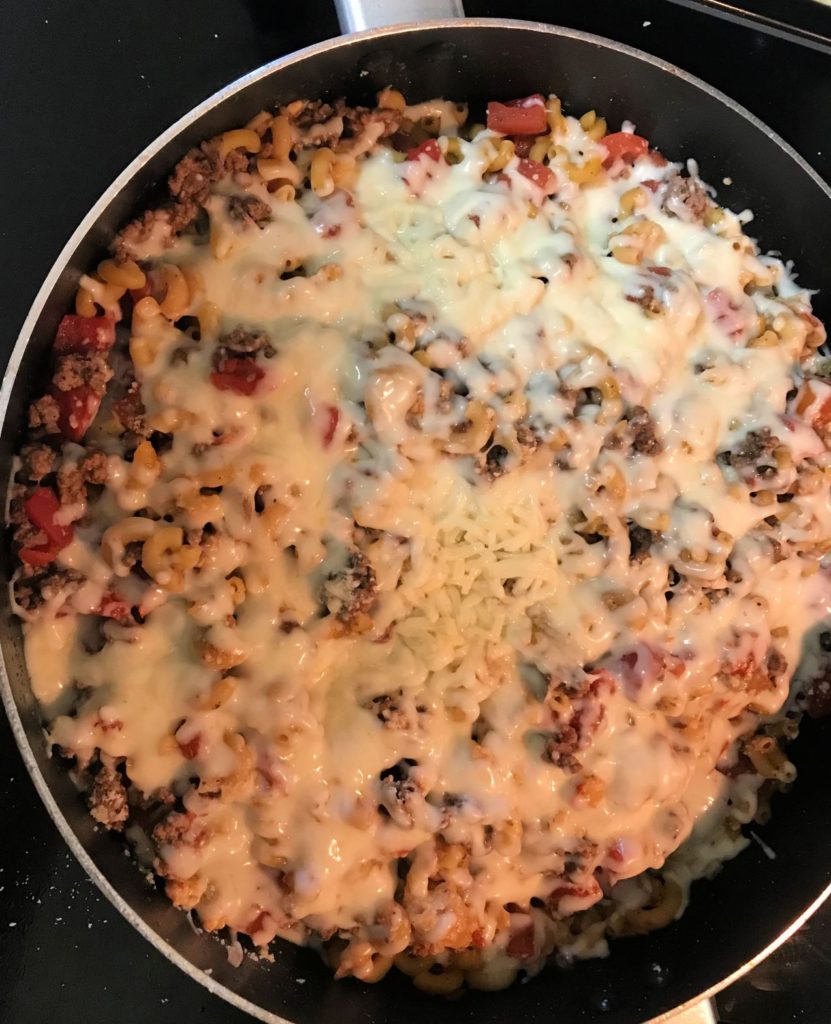
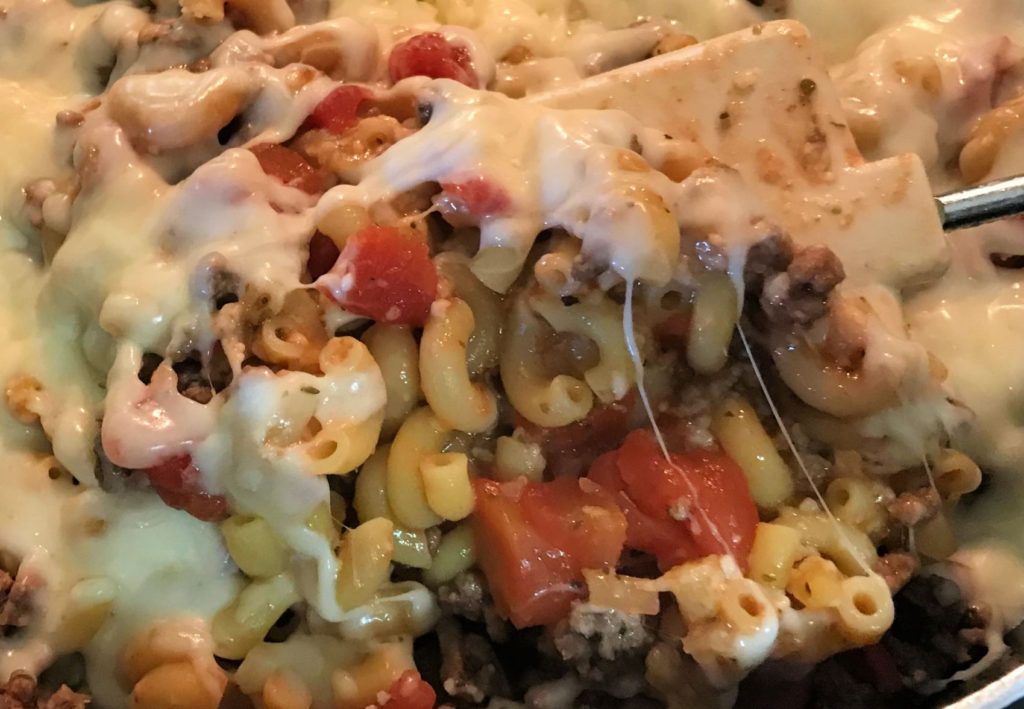
  • Remove from the heat; stir in Parmesan cheese. Sprinkle mozzarella cheese all over the top. Cover and let stand for 2 minutes or until cheese is melted.
Stir in the Parmesan cheese.
If you don’t want it as cheesy, you can reduce the mozzarella to 1 cup.

See! Super easy for busy moms or anyone who needs an inexpensive, easy dinner recipe that takes less than 30 minutes. Italian pasta in a skillet. So simple! This is one of the best skillet macaroni and beef recipes I’ve found, because there are so many different variations you can create.

Leave the lid on for about 2 minutes to let the cheese melt.

You can try penne pasta or shells for a thicker version. If you use larger pasta you might want to add in about 8 oz. tomato sauce or about half a jar of spaghetti sauce to add extra liquid. Allow a little longer cooking time as well. If you decide to cook the pasta separately and add it in, make sure you reduce the water to 1 cup.

For the meat you can try half beef and half ground Italian sausage or all ground sausage to add a little more flavor.

To save calories use ground turkey instead. It tastes just as good! You can also use half-skim cheese instead of whole milk mozzarella. You can really use any cheese you happen to have on hand, but mozzarella is my favorite for this dish.

Serve with garlic bread and a salad. Yummy!

Other variations:

Add in a 1/4 teaspoon red pepper flakes or cayenne pepper to add a little kick. Add 1 teaspoon minced garlic with the onion in the browning stage. Increase the Italian seasoning to 2 teaspoons. Add in 1/2 teaspoon each of onion powder and garlic powder.

Throw in some fresh parsley to the sauce. Add 1/4 to 1/2 cup finely chopped green bell pepper. Try adding 1/2 cup mushrooms.

This is one of those recipes that you can throw together with just about anything you happen to have on hand. It is hard to mess it up, and everyone will enjoy it. How can you go wrong with meat, macaroni, tomatoes, and cheese? I really enjoy the flavors of onion and garlic, tomatoes, and cheese. I love all things Italian!

Try it tonight and let me know what you think. Did you prepare it as is, or did you try your own variation? Do you have any creative suggestions of your own? Please leave your reviews, suggestions, and comments below. I’d love to hear from you!

Apple Cobbler

Restaurants in my town have closed their dining rooms because of the coronavirus pandemic, so more people are forced to cook at home. Time to get out the Crock Pot! I love the Crock Pot, because you just dump everything in and turn it on then forget about it for a few hours. My kind of cooking!

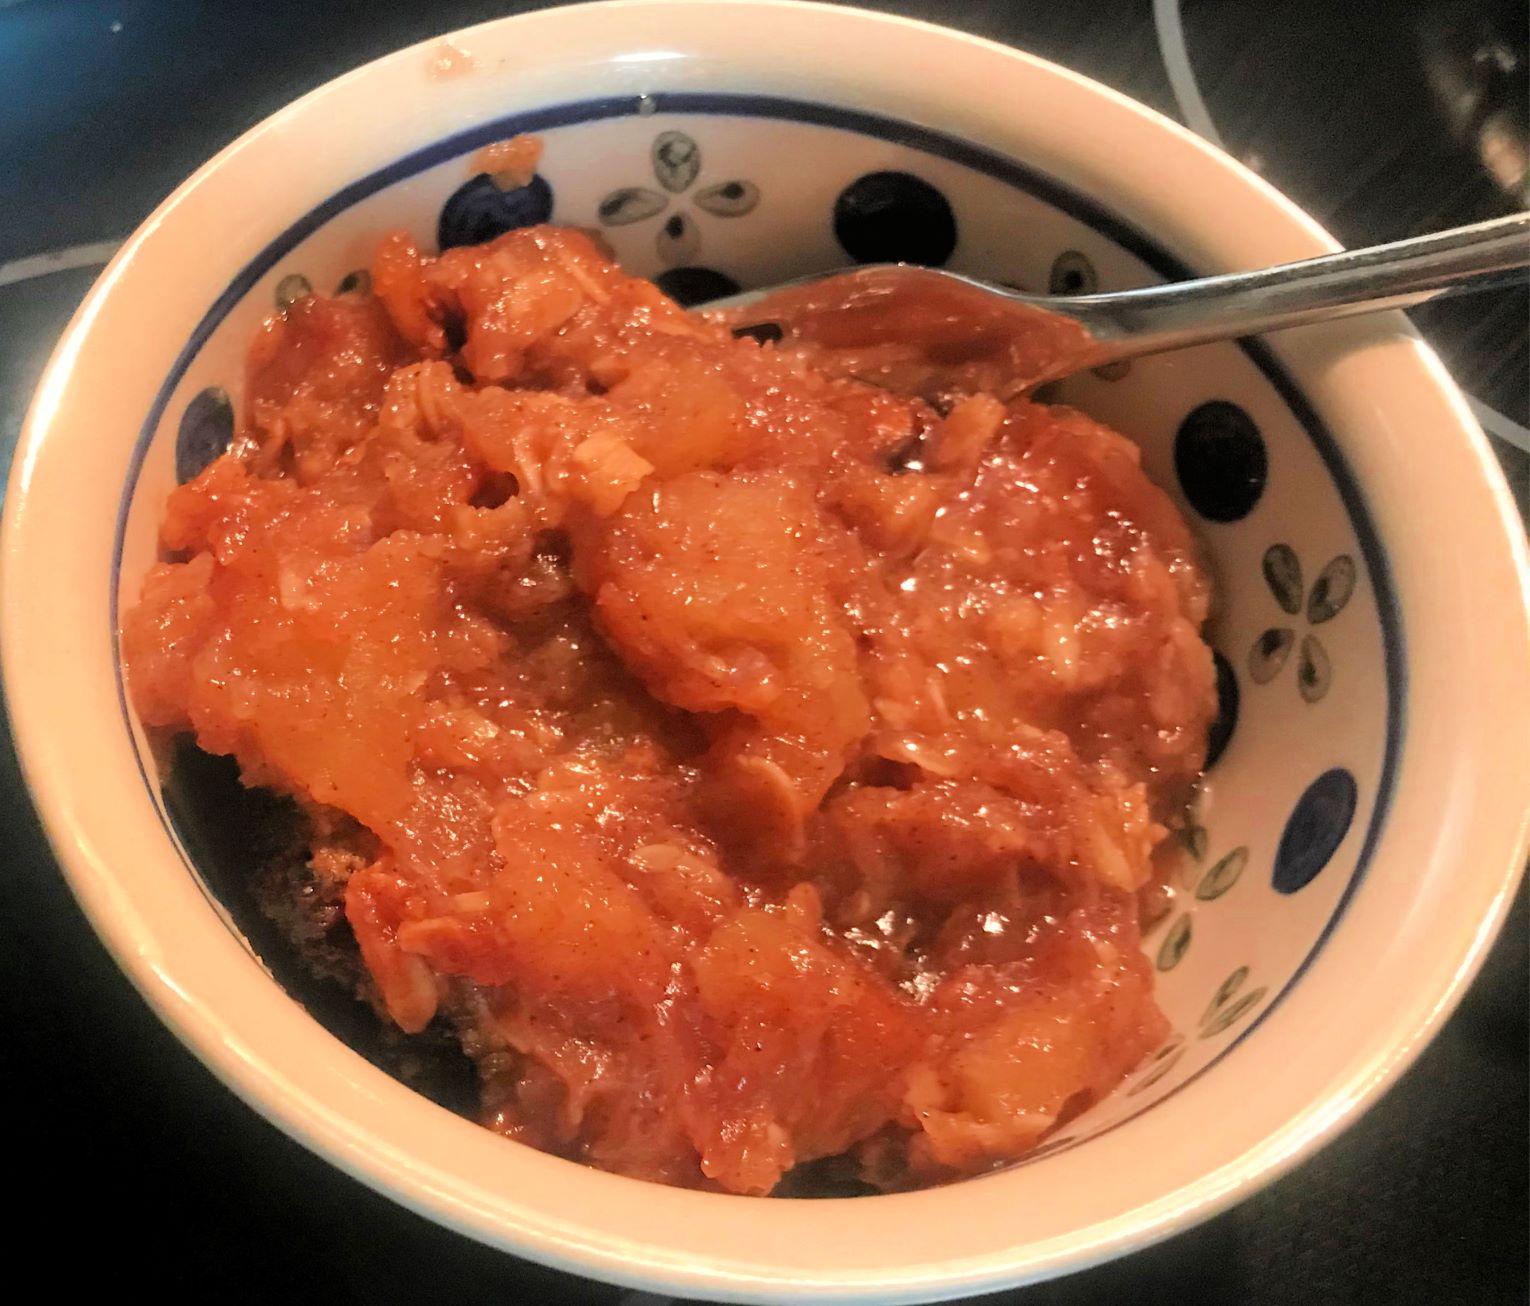
This apple cobbler recipe is so easy and delicious! You can find good use for that bag of apples you bought on sale at the grocery store before the crazed fight for toilet paper began. It only takes about 15 minutes to prepare – especially if you have someone peel and chop the apples for you!

The apple chopping king!

Ingredients:

Apple Filling:

5 medium apples (Gala, Honey Crisp, or similar), peeled, cored, and sliced thinly

3/4 cup firmly packed brown sugar

1/4 cup Bisquick baking mix

1 teaspoon cinnamon

Topping:

1 cup Bisquick baking mix

1/2 cup firmly packed brown sugar

1/2 cup oats (I used Quaker)

1/3 cup granulated sugar

1/4 teaspoon salt

1/2 teaspoon cinnamon

1/2 cup (1 stick) cold butter, chopped up into pieces

Directions:

Spray inside of slow cooker with Pam cooking spray or use a slow cooker liner bag. For the Apple Filling, toss apple slices with brown sugar, Bisquick, and cinnamon in a large bowl.

Put these apple slices in the slow cooker.

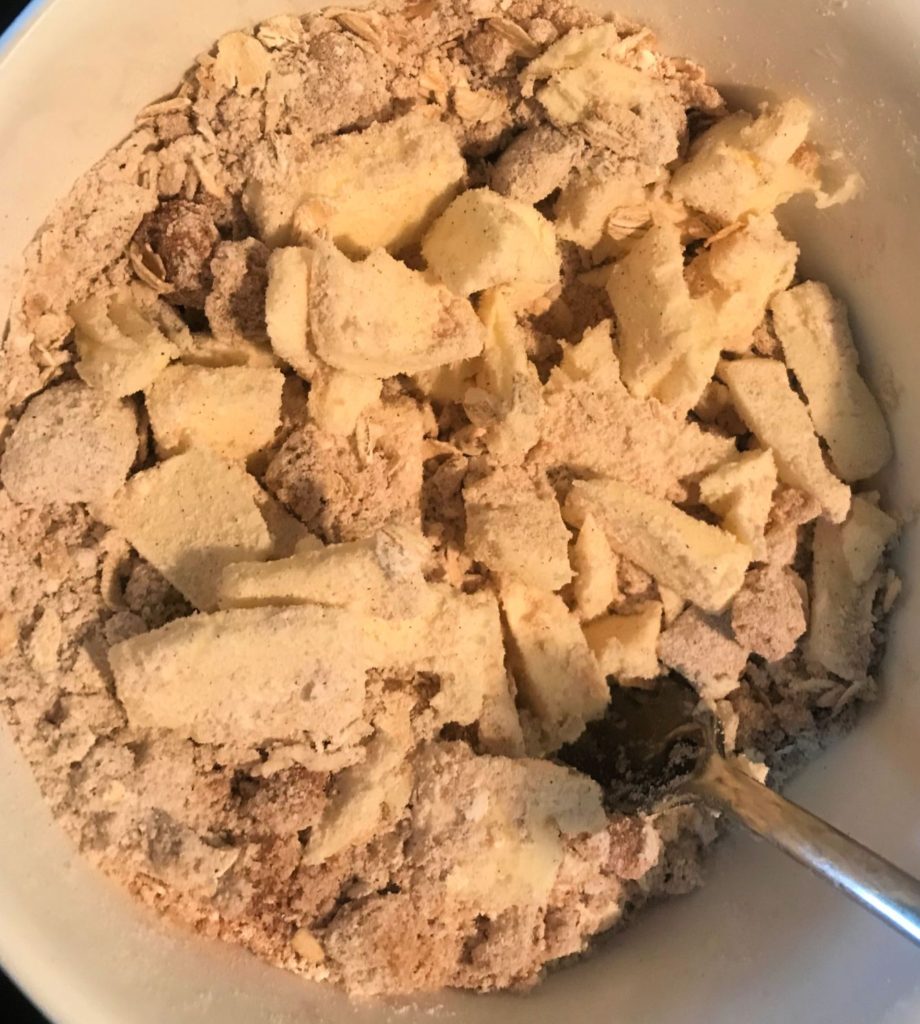
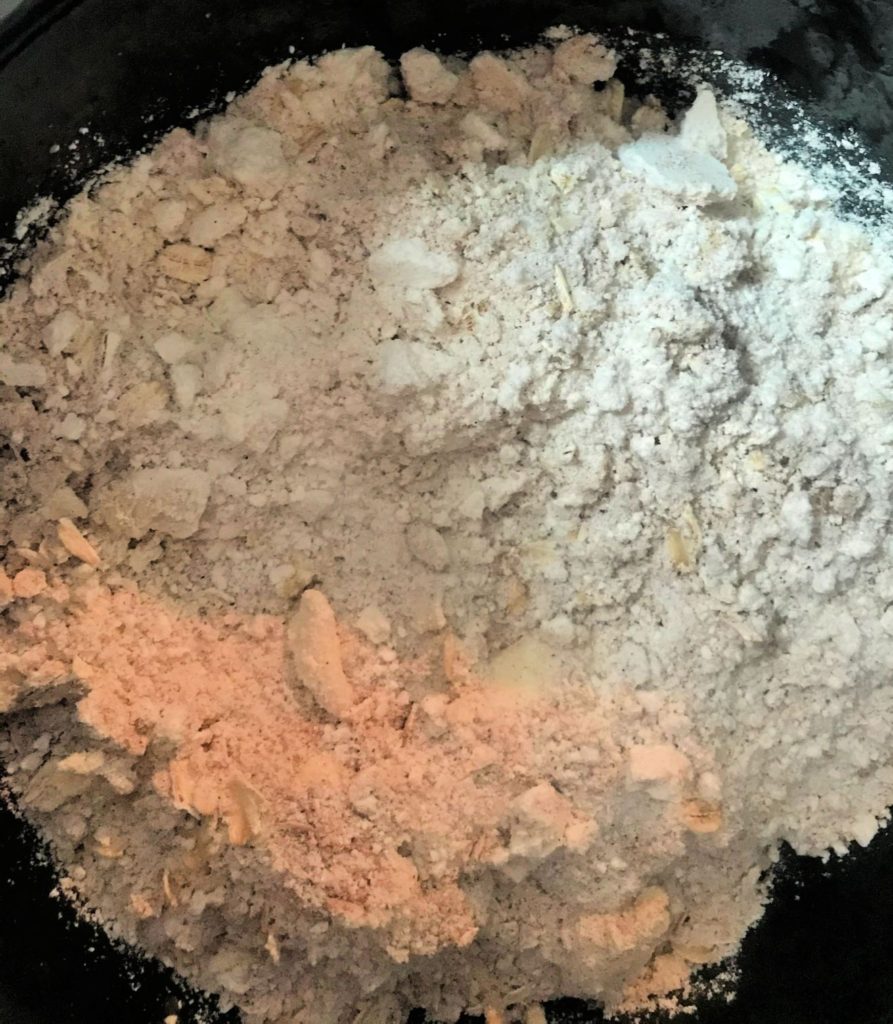
For the Topping, mix all topping ingredients, except butter, in a medium bowl.

Cut in butter with fork until crumbly. Sprinkle over Apple Filling. Cover.

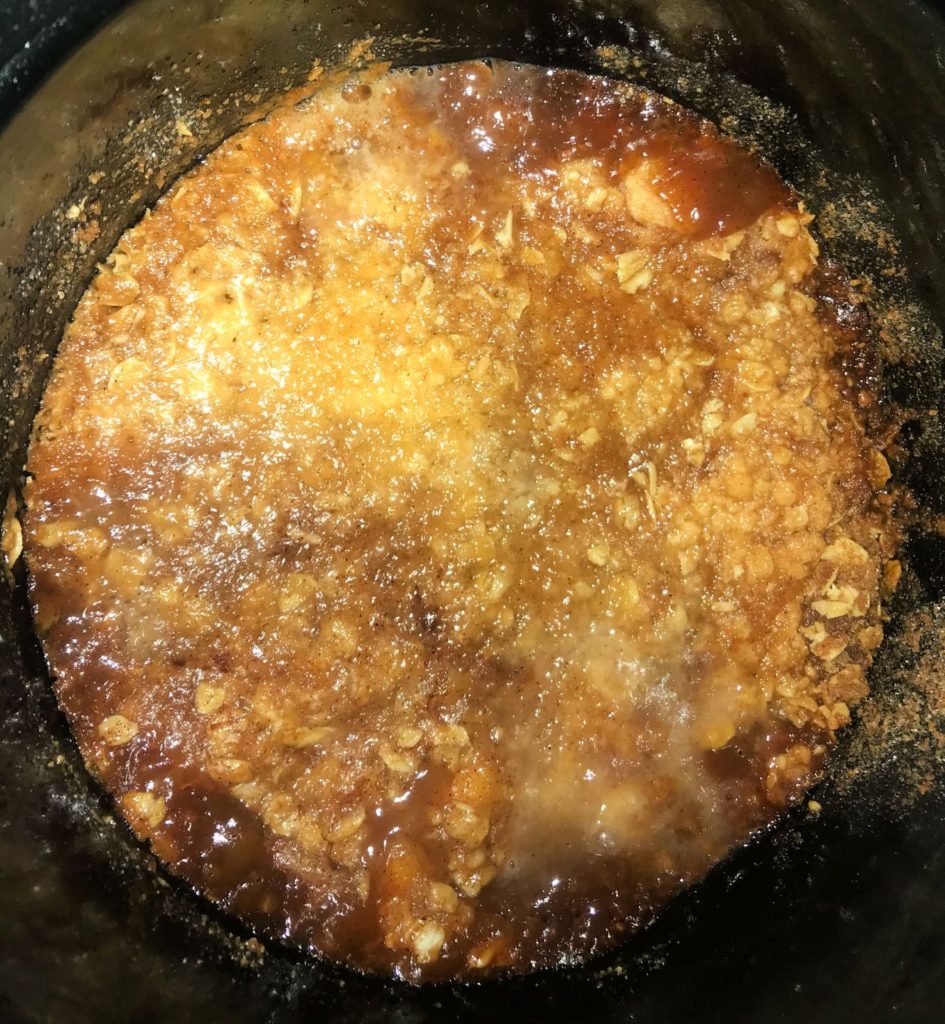
Cook 3 hours on high.

This is very sweet, so you can cut back on the sugar some if you prefer. It is also best with a scoop of vanilla ice cream to compliment the sweetness.

How to Make Spaghetti Sauce
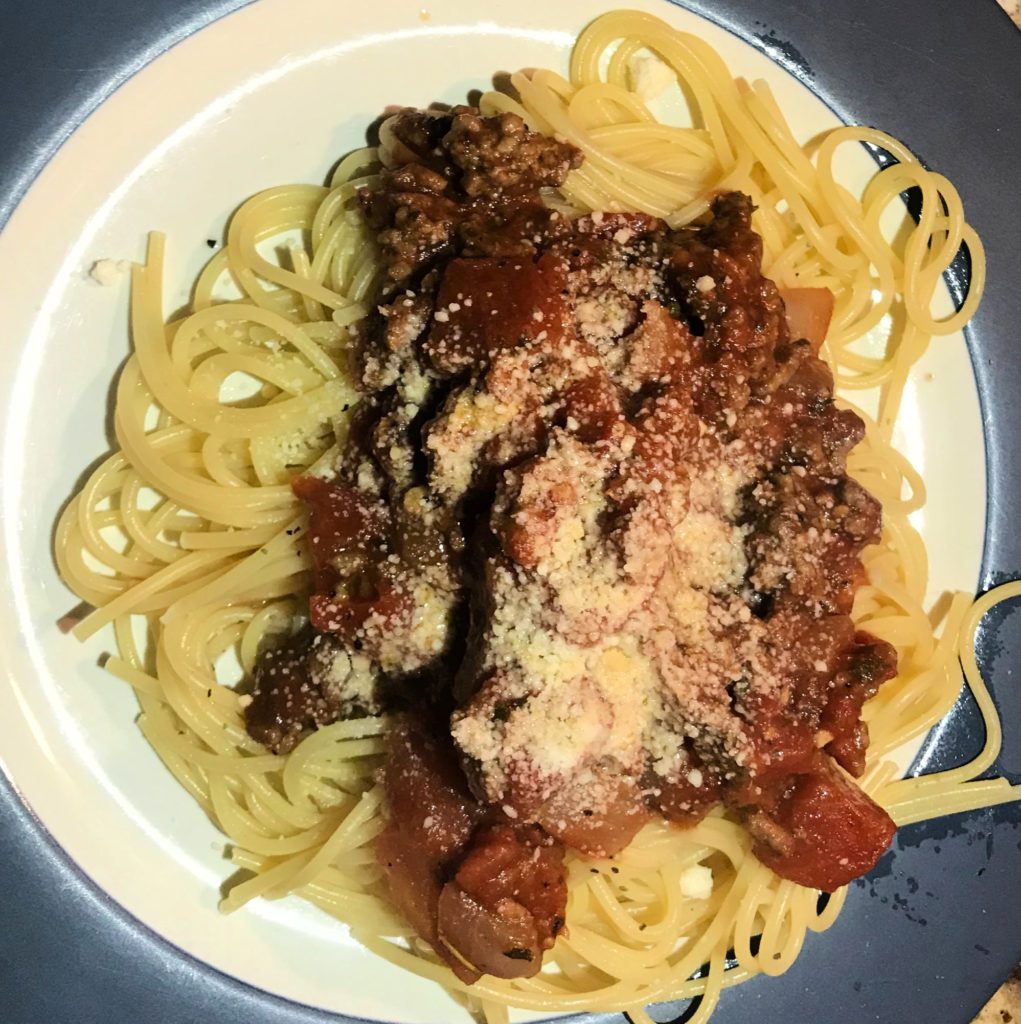
Don’t eat your noodles plain. Cover them with delicious tomato meat sauce!

It’s Fun Food Friday! This week’s recipe is so yummy.

It may be tempting to just open a jar or can of store bought spaghetti sauce, but I encourage you not to do this. Why? Because I am going to teach you how to make homemade -from scratch awesome spaghetti sauce with ground beef or chicken. And this recipe is so easy I know you can do it! The taste is worth the little extra effort, I promise.

I have to confess though that I make it a little differently every time and cannot tell you exact measurements to use, so you may have to experiment a little to get it just the way you like it. I estimated the amount in the recipe. Most really good southern cooks just throw in a little of this and a little of that and taste along the way. But I will do my best to break it down in simple, easy to follow steps.

Here are the ingredients you will need:

1 lb. ground beef

1 small onion, chopped

garlic (use a real one or the kind in a jar not dried garlic) – 1 Tbs chopped

Worchestershire sauce – 2 squirts

Oregano – 1 tsp.

Basil (fresh is best) – 1 tsp.

Parsley (fresh is best) – 1 tsp.

1 Bay leaf

Chili Powder – 1/2 tsp.

ketchup – 2 Tbs.

sugar – 1 tsp. (don’t put too much)

small can tomato paste

large can tomatoes – 14.5 oz.

can tomato sauce – 14.5 oz.

1/2 cup water

Directions:

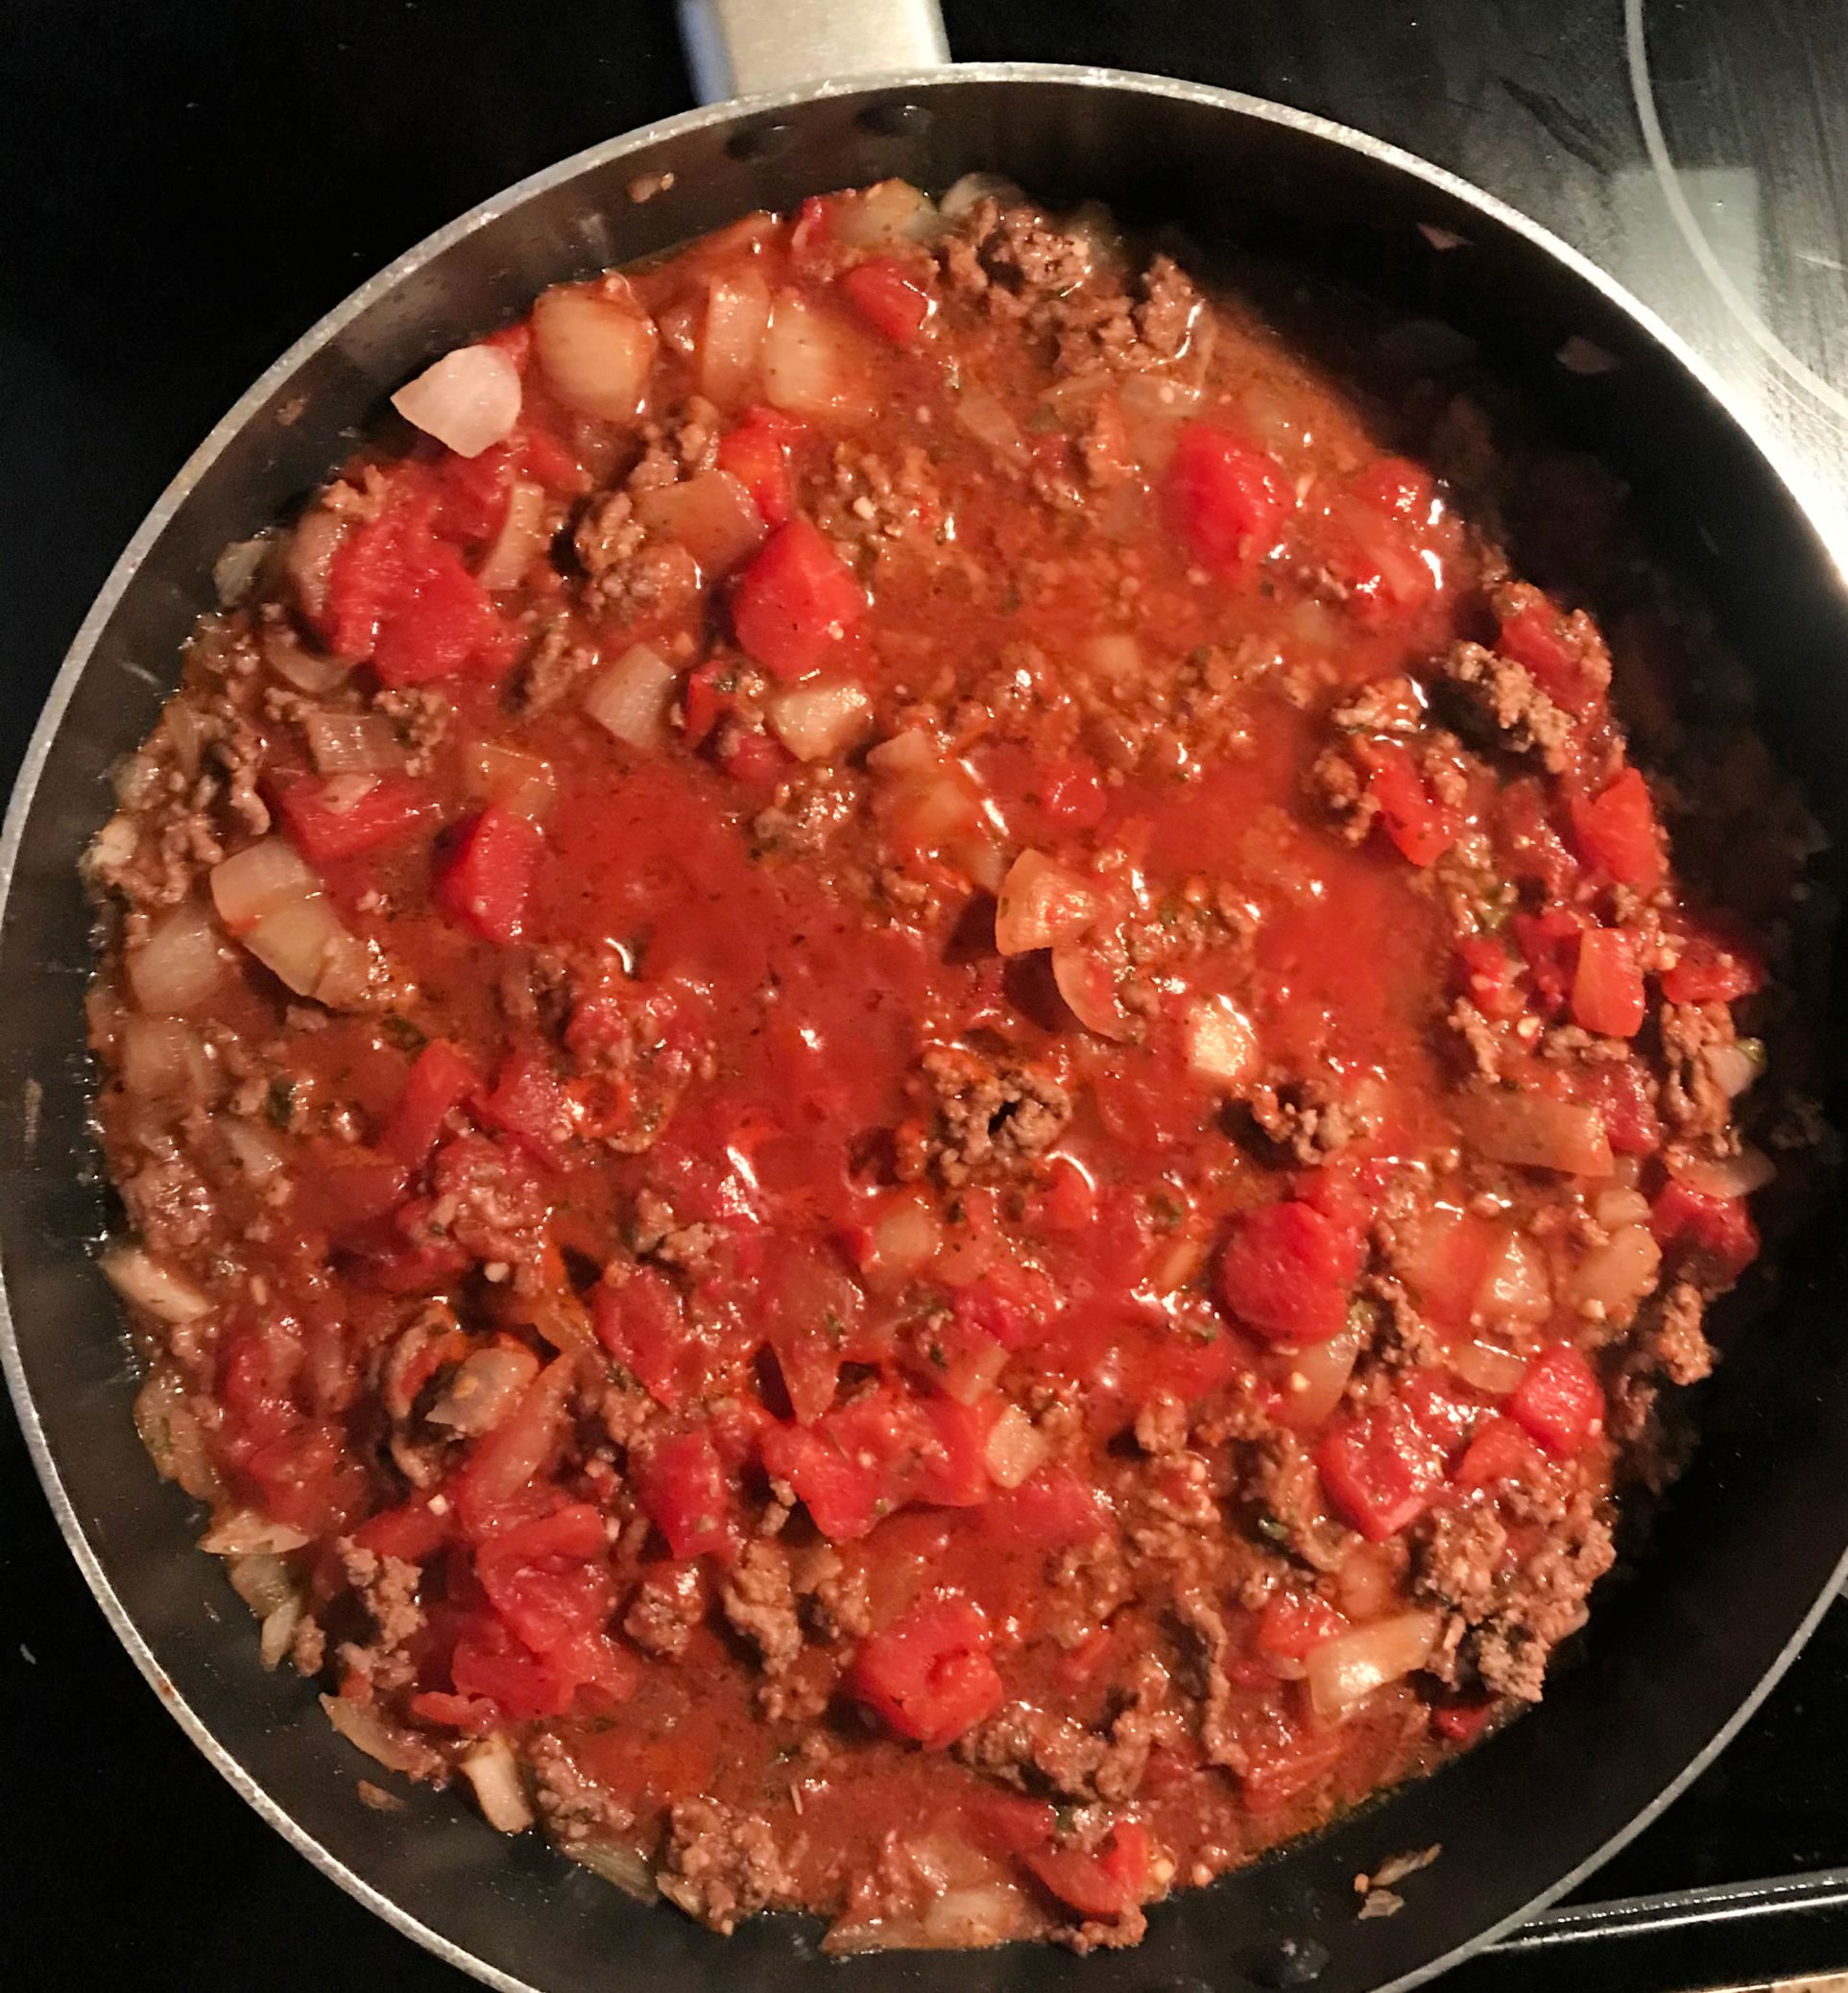
Brown the ground beef in a large pan then add onion and garlic. Cook until onion is browned a little then drain the fat off using the pan lid to keep the meat from falling into the sink. Keep water running while you do this to keep from clogging the sink.

Stir in all the rest of the ingredients. Simmer on the stove with the lid on the pan for 45 min. – 1 hour.

In the last ten minutes boil the spaghetti noodles and drain.

Serve over pasta with grated Parmesan cheese. Serve with a salad and garlic bread.

Be creative and add your own variations. You can use chicken instead of beef. Try adding chopped green bell peppers or other vegetables. You can make it Vegan by adding more vegetables and leaving out the meat. Do you have any ideas? I’d love to hear them!

Easy Broccoli Cheese Cornbread Muffins

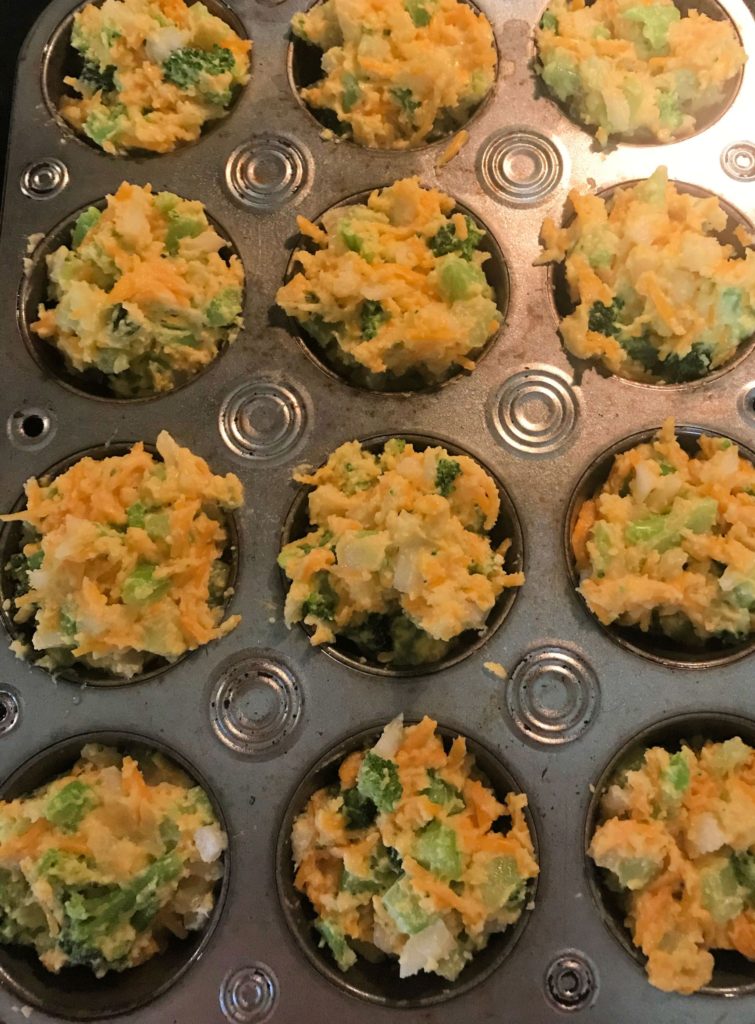
These muffins are so easy to make, and they are delicious! There are lots of different variations, so you can be creative and try different things instead of broccoli if you want.

Ingredients:

1 (8 1/2 oz.) package corn muffin mix

1 (10 oz) package frozen chopped broccoli, thawed – I like to make sure it is not mostly stalks.

1 1/2 cups shredded Cheddar Cheese (Colby Jack combo works well too)

1 small onion, chopped fine

2 large eggs

1/2 cup (1 stick) butter, melted – Real butter works best.

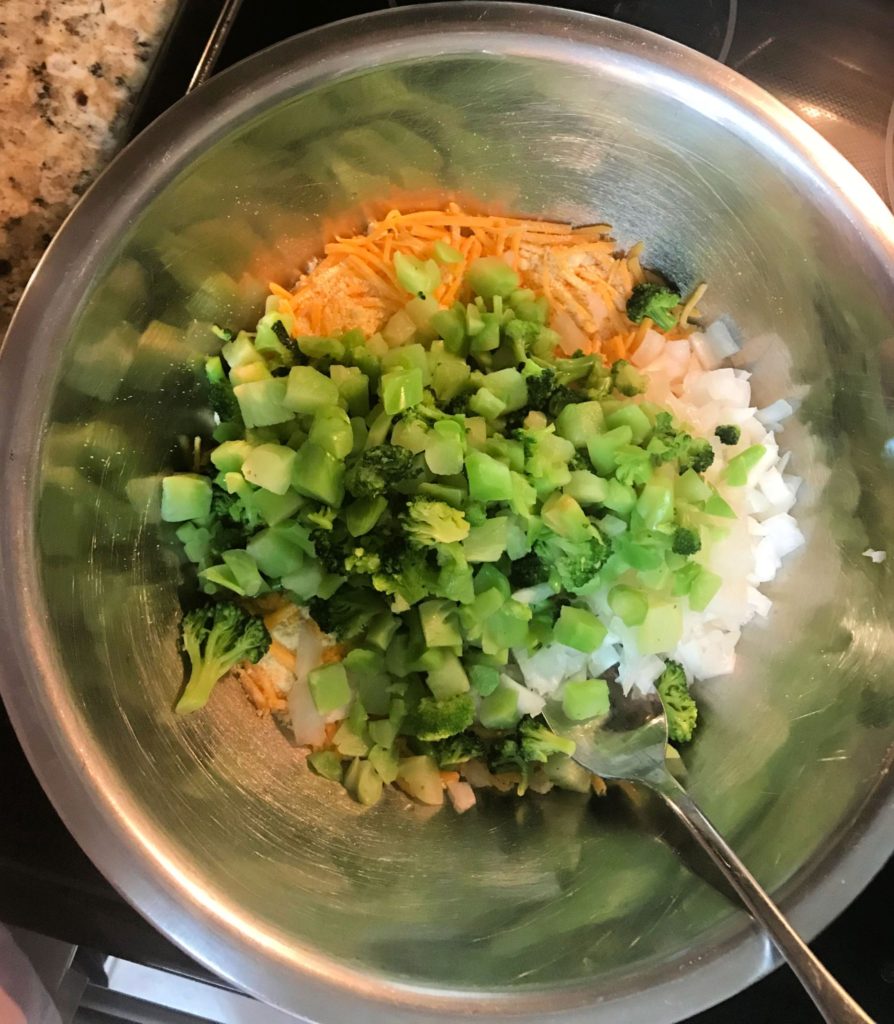
Directions: Stir up the first 4 ingredients in a large bowl

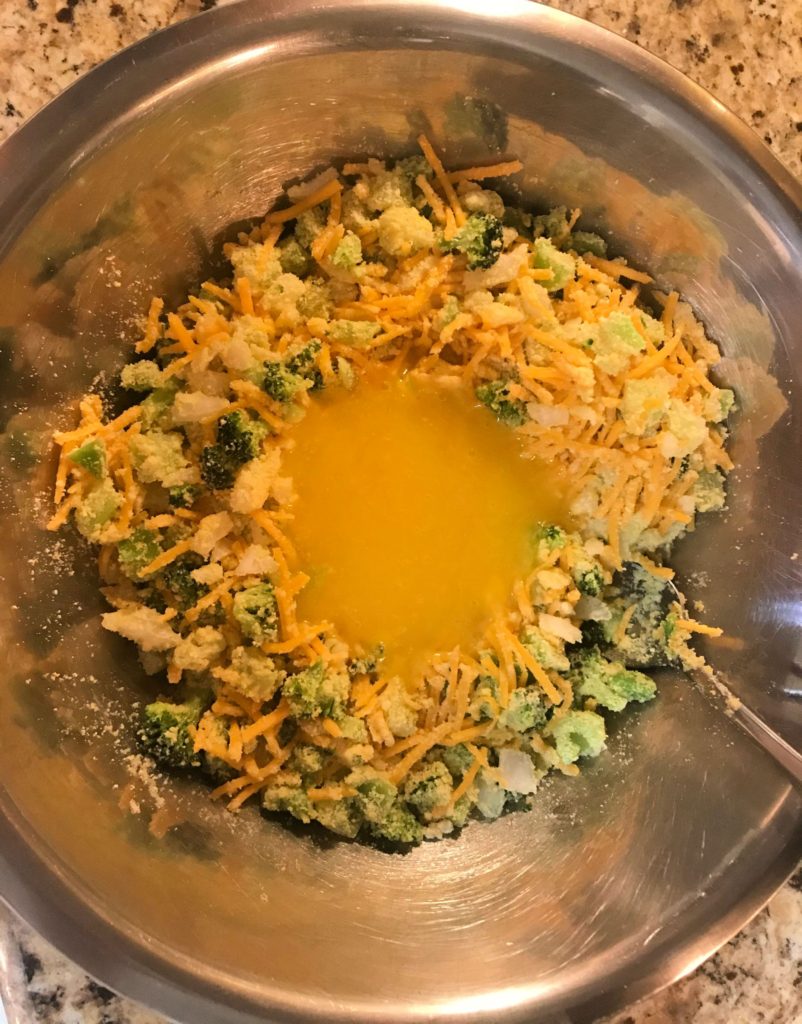
In a small bowl stir together eggs and butter, blending well.

Add egg and butter mixture to the broccoli mixture, stirring just until all ingredients are moistened.

Make a little dip in the center of the mixture to pour the egg mixture into.

Spoon into mini muffin pans sprayed with Pam, filling three-fourths full (I made mine into regular size muffins in the above picture. If you do this you need to bake them about 8 minutes longer).

Bake at 325 degrees for 15 – 20 minutes or until golden. Let them stand about 5 minutes before removing from the pan.

Makes 2 dozen mini muffins or 1 dozen regular size ones. These look pretty and are great for company. You can also freeze them for up to 3 months and have them ready in a flash if you need to bring something to a potluck.

Variations: Instead of broccoli add 1 small can of Mexican corn and jalapeno cheese; You can experiment with low-fat cheese but some bake better than others.

Inspired by a recipe I saw on myrecipes.com

BestEasyBlackberryCobblerrecipe

Welcome to my new blog feature called “Fun Food Friday.” Food is fun, and Fridays are fun. So on most Fridays you will find one of my favorite recipes and restaurant reviews right here. Although healthy eating is important to me I occasionally enjoy some good down home southern cooking – comfort food! You will find both here on Fridays.

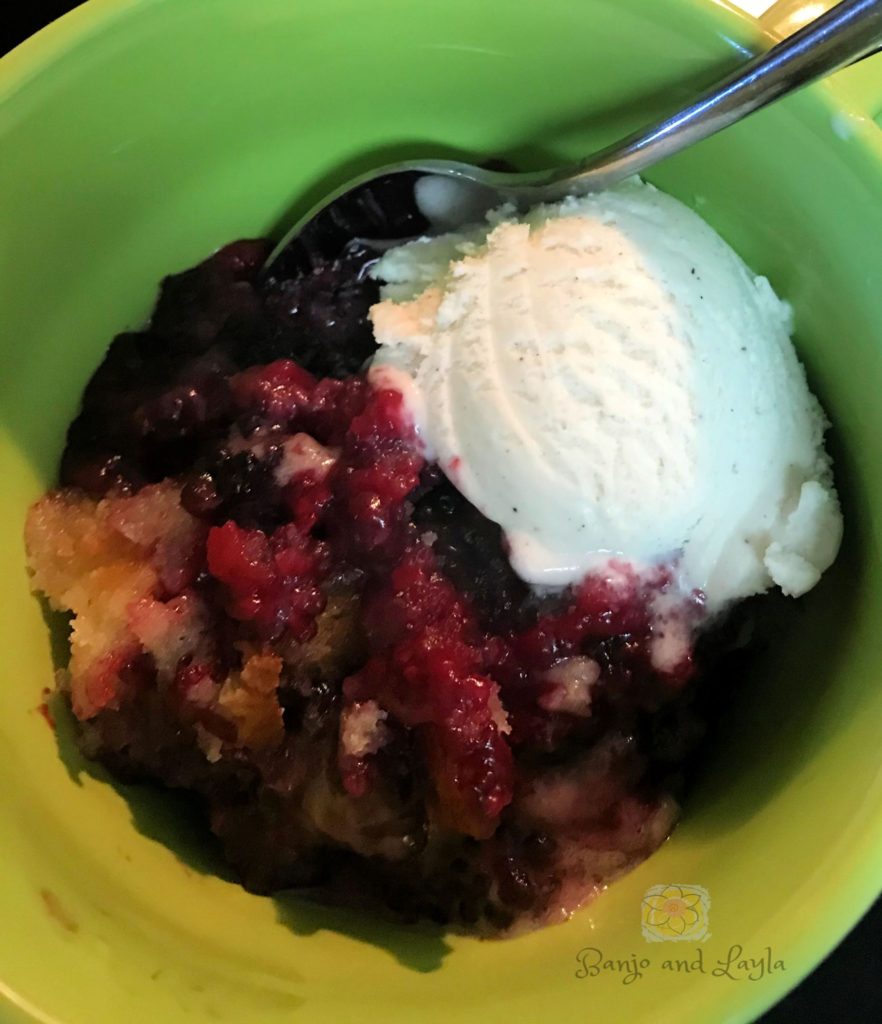
What’s a better comfort food than mouth watering delicious cobbler? And this is such an easy blackberry cobbler recipe. It is called TennTucky Blackberry Cobbler, and it is the best blackberry cobbler ever. It is fast, and there are not many ingredients. I love that you don’t have to make a crust. It has a buttery crispy topping instead. I think it is best eaten warm with vanilla ice cream. Yummy! It is so good! Here is how to make blackberry cobbler:

I have made this with fresh blackberries and frozen blackberries. It is great either way.

Makes 6 servings; Prep 10 minutes, Bake 1 hour

1 1/4 cups sugar

1 cup self-rising flour

1 cup milk

1/2 cup butter, melted

2 cups frozen blackberries

WHISK together 1 cup sugar, flour and milk just until blended; whisk in melted butter. Pour batter into a lightly greased 12 x 8-inch baking dish; sprinkle blackberries and remaining 1/4 cup sugar evenly over batter.

BAKE at 350 degrees for 1 hour or until golden brown and bubbly.

I first saw this in Southern Living magazine submitted by Jennifer G. Brindley of Adairville, Kentucky.

Try it and let me know what you think by leaving a comment below. This is the best easy blackberry cobbler recipe you will find. At least I think so!

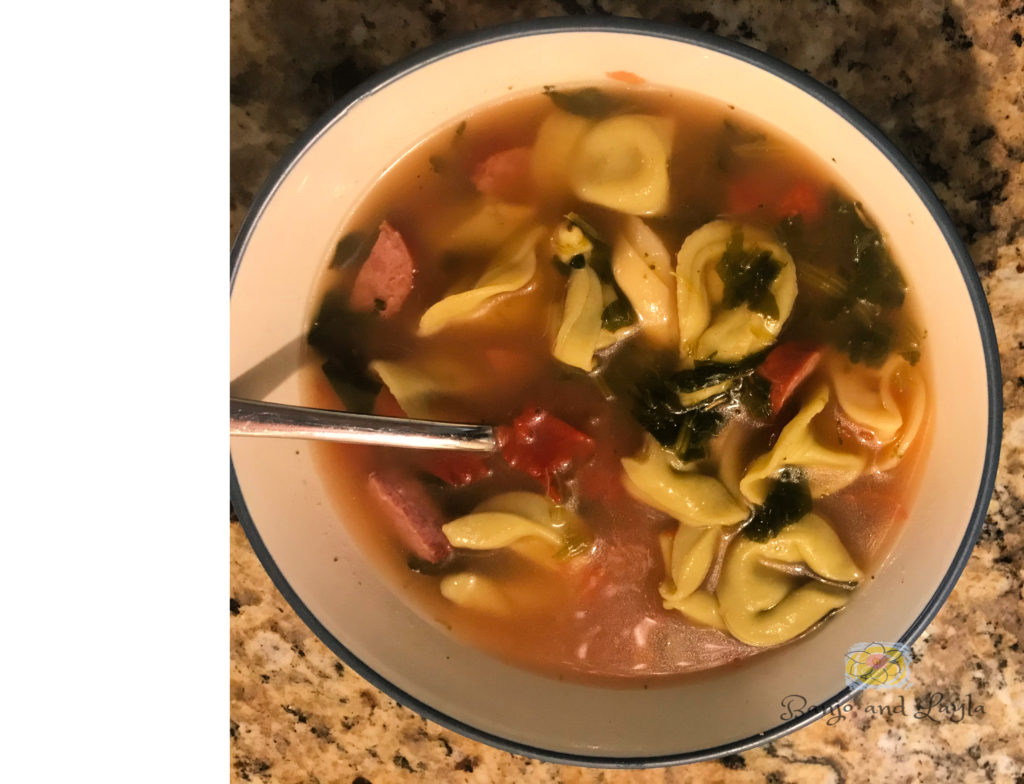
So I just did an experiment and created my own delicious soup recipe! It was go good I wanted to share it with you, my readers. It is super easy to make and does not have to cook for hours like some soups do to get the full flavor. Just mix all of the ingredients below except for the tortellini into a big pot, bring to a boil then add the tortellini, reduce heat, and simmer uncovered for 10 minutes. That’s it! Serve it with rolls or cornbread muffins for a yummy dinner on cold nights. Enjoy!

Do you know about Prime Pantry? So awesome! Amazon Prime members in select areas can skip the store and have everyday essentials like snacks, beverages, beauty and cleaning supplies, and more shipped straight to your door. How cool is that? Free shipping over $35. And I have a deal for you. If you order before November 16, 2019 you can get $10 off your first Pantry order of $40 by using the code WELCOME10 at checkout!
Ingredients:

2 32 oz. cartons – Chicken Broth

6 oz. frozen chopped spinach (can put more if you really like spinach)

12 oz. sausage (ground or links, cut up into small pieces) – I used turkey sausage

12 oz. can diced tomatoes

2 t Italian seasoning

1 t garlic powder

salt and pepper to taste

10 oz. cheese tortellini